From Dispersion To Binder: How I Make Acrylic Paint
Paint making is a challenging but rewarding experience which I believe prospers a connection between artists and their materials. Up until the 1800’s, paint making was a common process which was an extension of the artist’s practice. This was until 1841 when the American portraitist, John G. Rand, invented a method of packaging oil paint in flexible zinc tubes. The production of consumer paints was huge for artists and helped the development of more spontaneous painting practices such as impressionism, artists were no longer confined to the studio space and could paint wherever they wished without the concern of paint drying out. This invention corresponded which came along side advances in chemical manufacturing giving way to a large variety of new synthetic pigments for artists to use (that’s a fun story for another time). While massively expanding the horizon of artists for generations to come, the art of paint making has become a fringe interest among some painters and art historians.
The process of making paint is actually incredibly simple for oil and watercolor paints! For oil paints all you need is dry pigment (tiny solid particles which create the color) and your binder (most commonly linseed oil), from there you pour the powdered pigment on a glass plate and pour oil onto it, then using a glass muller you can grind the two into a paste on your plate and save in a jar or tube for later. Watercolor paints are a similar process but they include water, gum arabic powder, honey or glycerin, and some clove or thyme essential oil for preservation. Both practices are incredibly well documented and have been done for hundreds of years. The challenge comes in if you want to make acrylic paint.
Acrylic paint is a relatively new invention, first being available to artists commercially in the early 50’s. It uses an acrylic resin dispersion as its binder but is sometimes made using vinyl (in the paint used for cartoon cels) or pva (for house paints). The contents are simple on paper: binder, filler, pigment, and water. Due to nightmarish degrees of bureaucracy and company secrecy, finding any valuable resources on what goes into how they are made was a herculean challenge, one that led me to obsession: pestering the inboxes of chemical/paint companies and art historians, digging through expired patents, and contacting people working adjacent fields. The challenge of what I otherwise thought would be a straightforward task was intoxicating for me and ended with me learning more about chemistry than I had ever picked up in a high school classroom. Being interested in such an incredibly niche field such as paint chemistry is an isolating experience, but being able to share some of what I’ve learned with you, the reader is humbling and I hope you can take something away from this.
Before I begin, I would like to thank the three most valuable resources I’ve had in this journey. First I would like to thank Golden Artist Colors and their writers for Just Paint for the incredible transparency, it was indispensable in this undertaking. The amount of integrity it takes to share with artists some what goes into the supplies they use is a breath of fresh air and is basically unheard of from every other artist’s paint manufacturing company I’ve contacted (don’t even bother talking to any of the European ones if you have any questions about their products, for some reason they’re the worst when it comes to this kind of arbitrary secrecy). The second massive thanks goes out to Jason Bosh from FeltMagnet as he is to my knowledge the only other individual on the Internet who shares this interest. The information I’ve gotten from contacting him has been some of the most useful I’ve gotten. The final thanks goes out to anybody who contributes to the Internet Archive. Anyone who tells you that anything on the Internet is there forever is a liar, a shocking amount of knowledge has been lost over the years as the Internet has shrunk. About half of the sources I’ve used only still existed thanks to thoughtful people who decided to archive the page they were on.
With that out of the way, let’s go step by step through my highly abridged process.
DAY ONE:
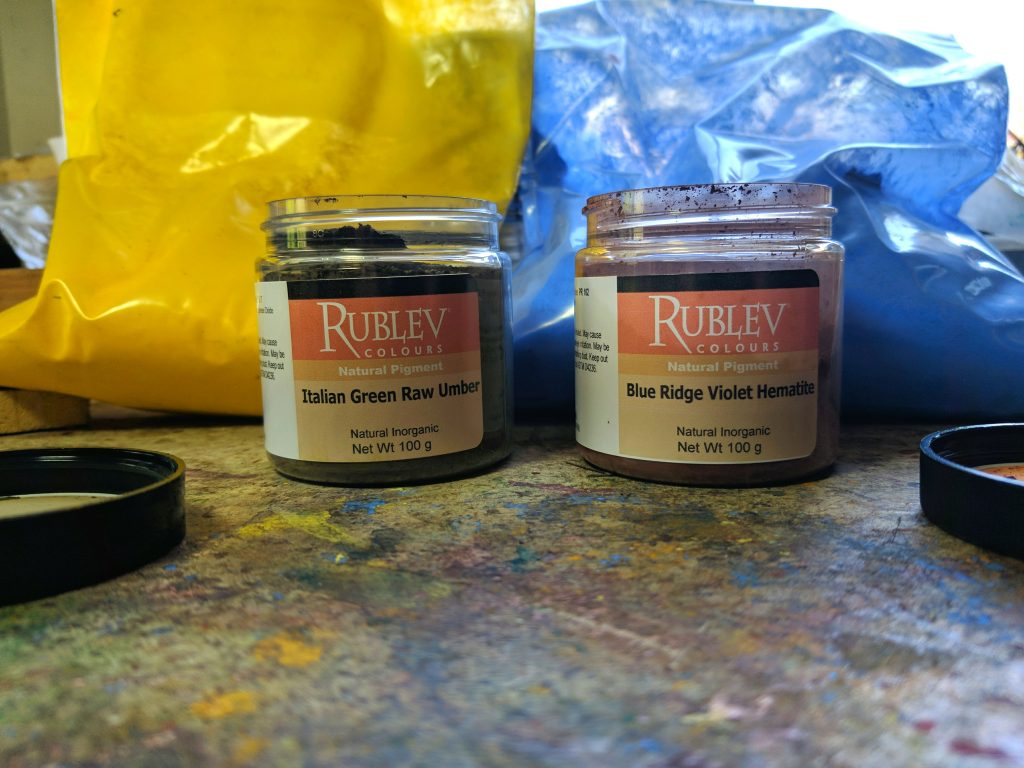
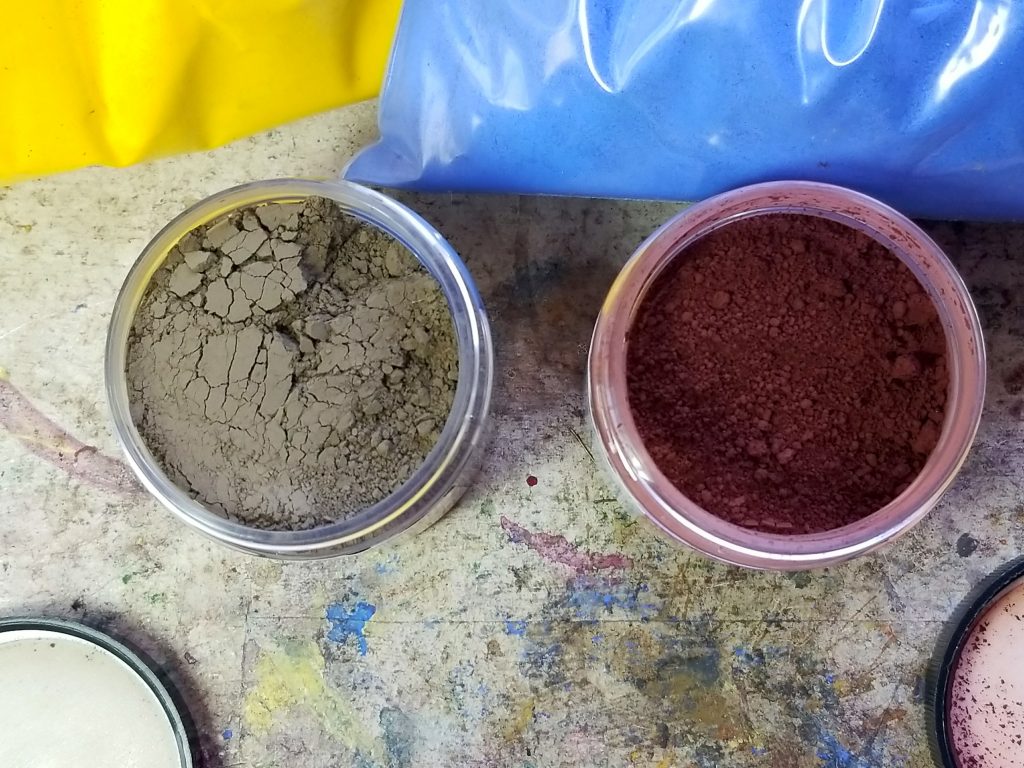
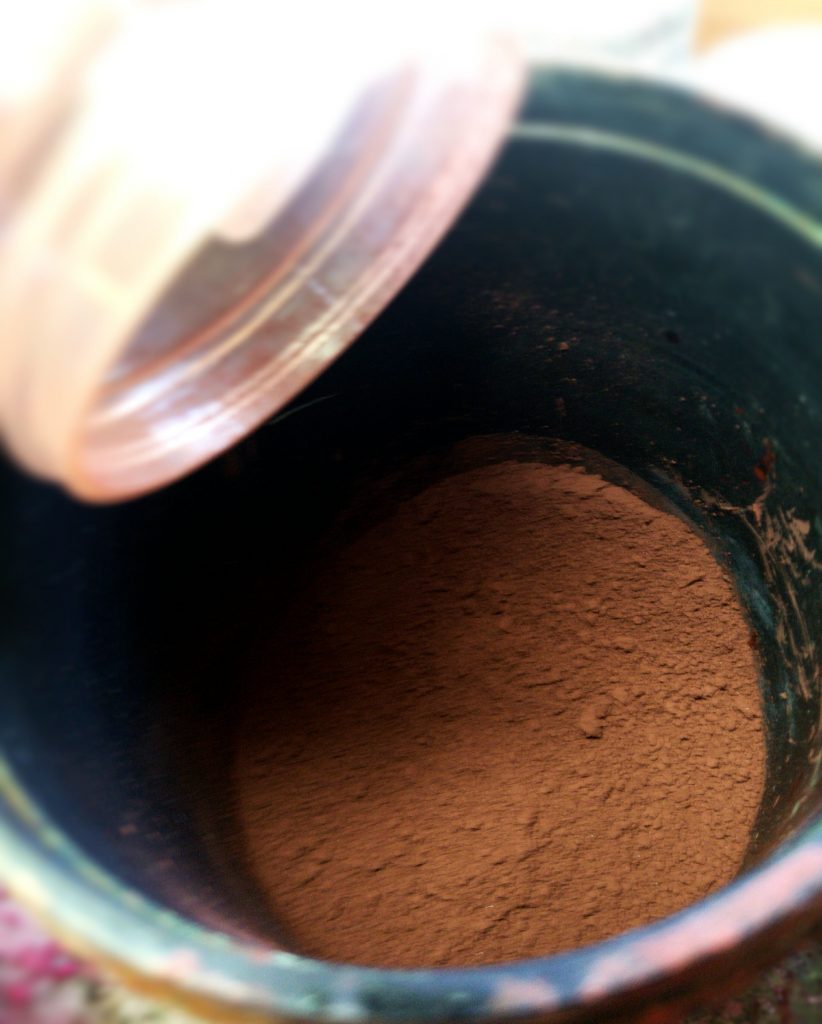
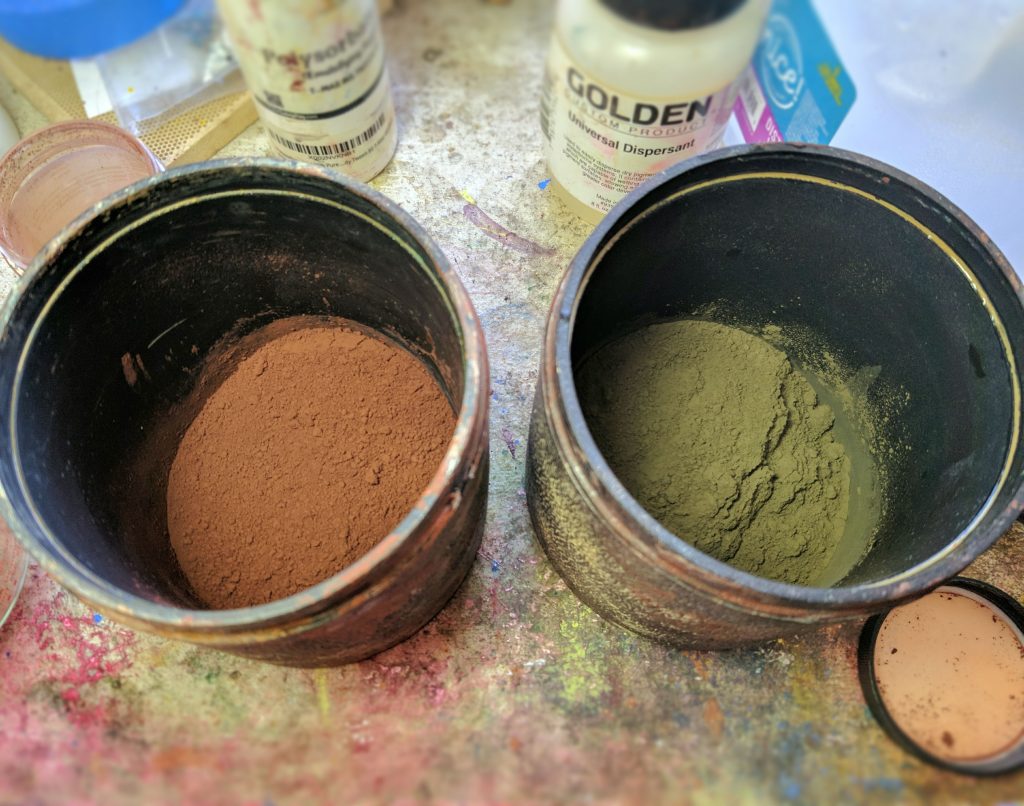
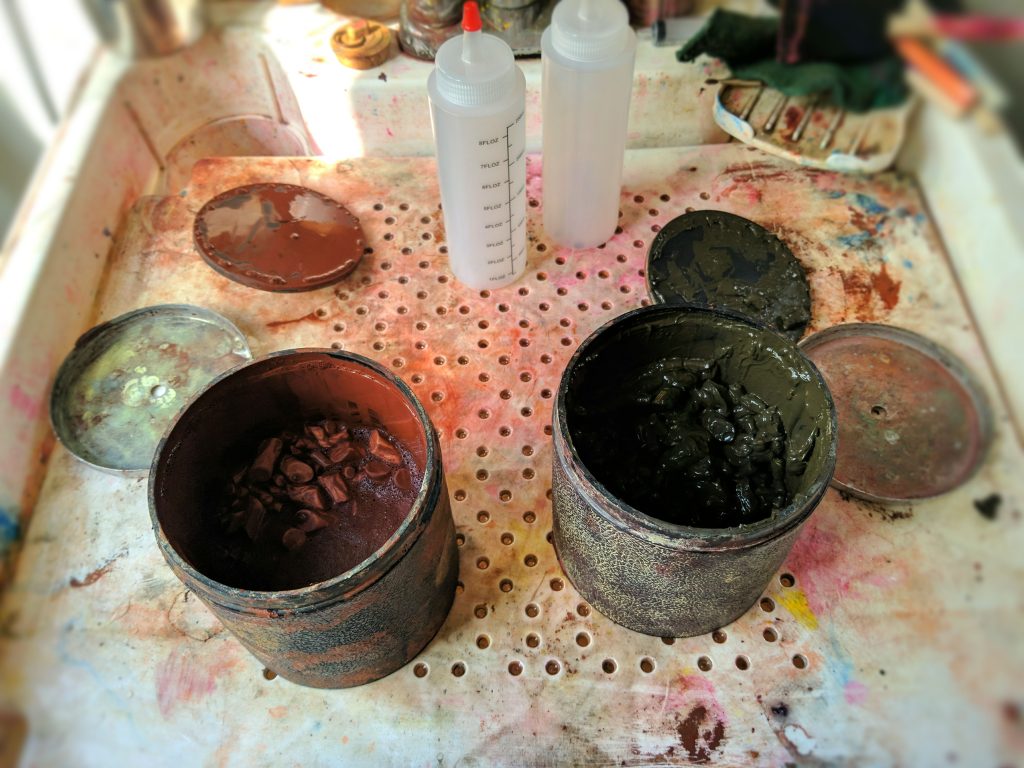
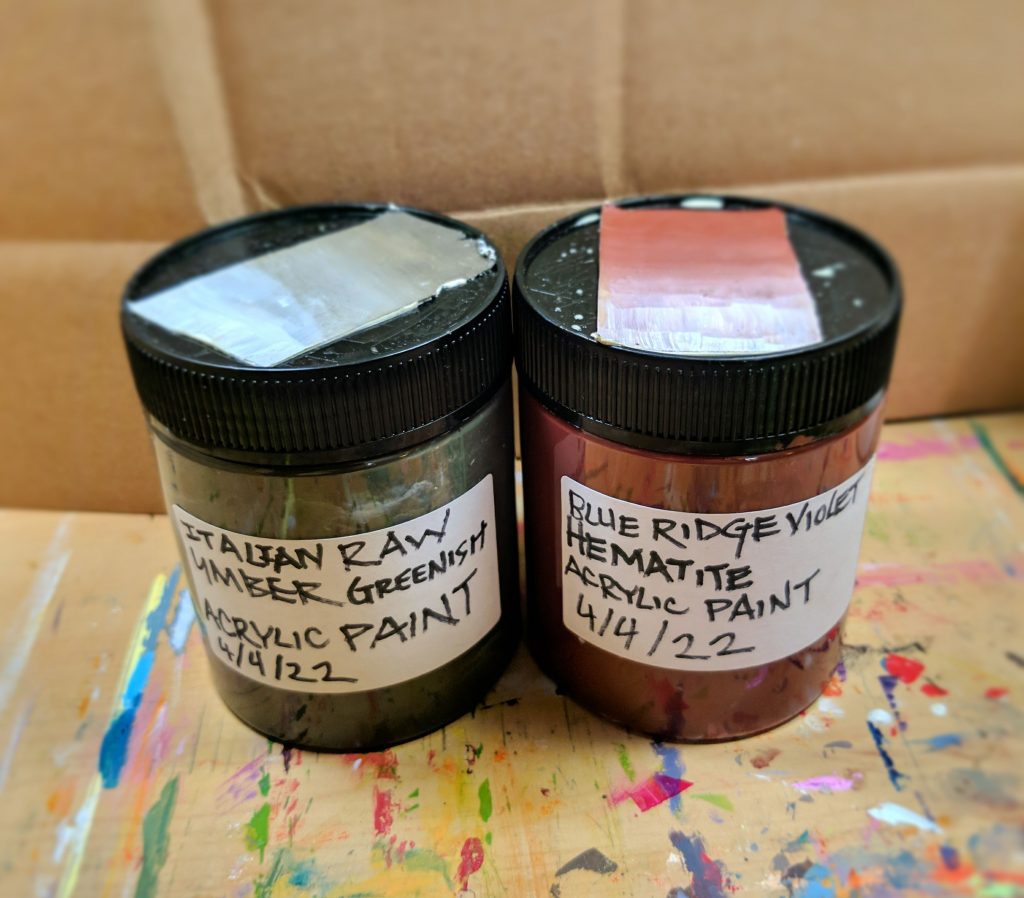
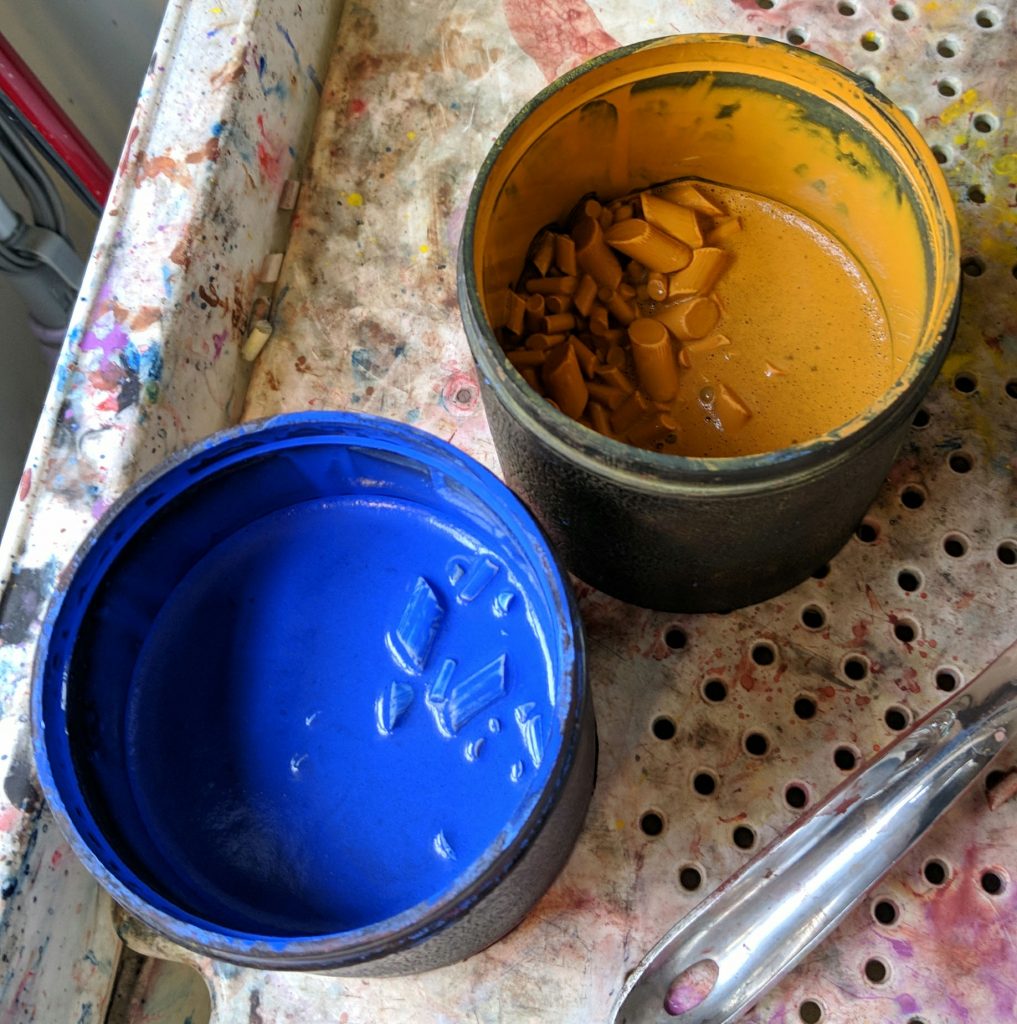
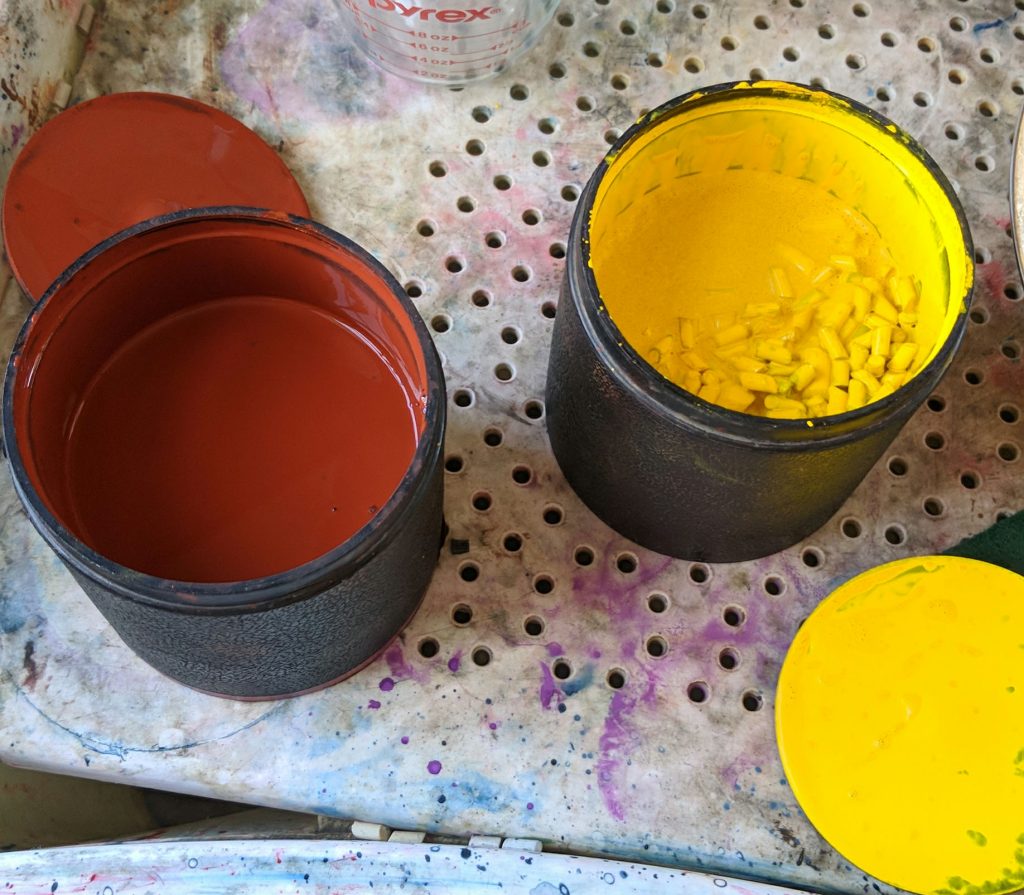
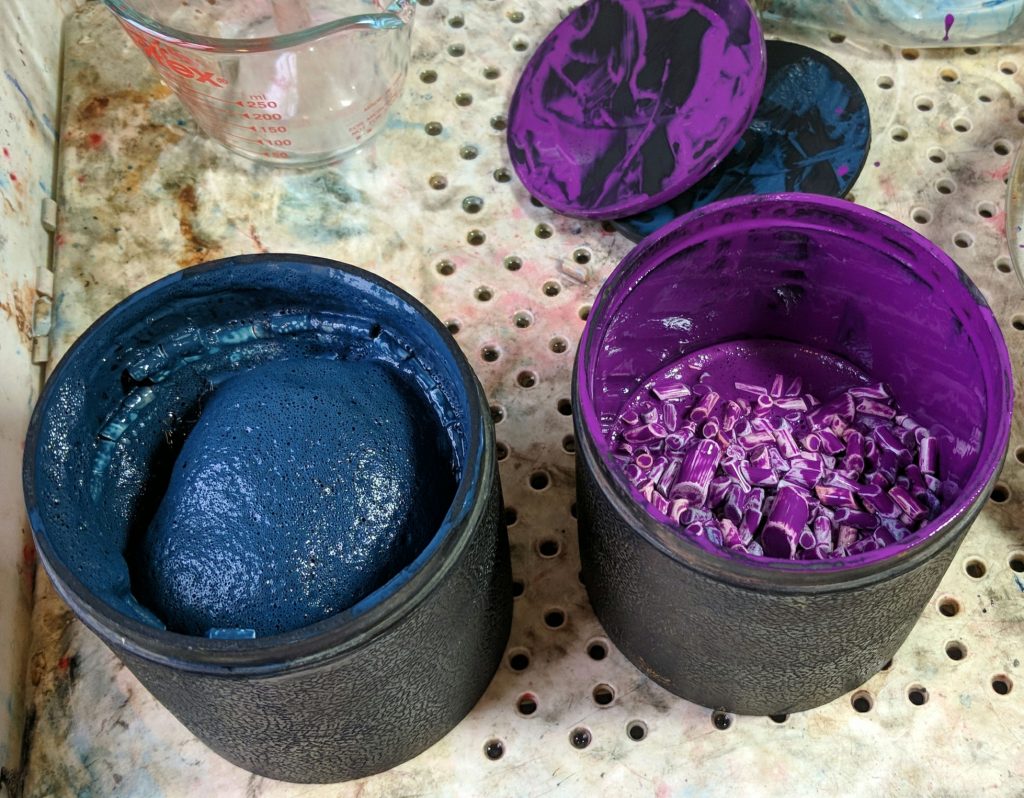
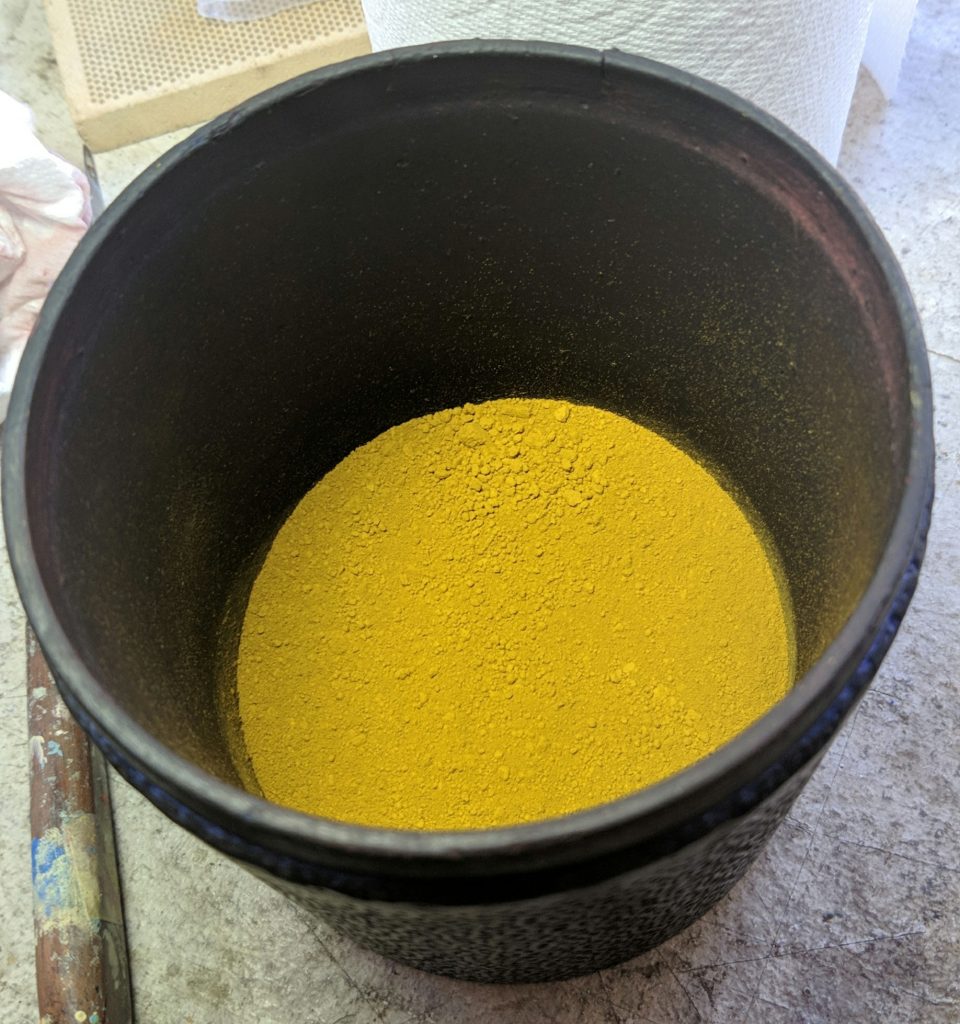
For this demonstration, I am starting out with two jars of dry pigment, I chose these two because they are both earth/mineral pigments, making them relatively easy to work with for this demonstration due to them being marginally less hydrophobic compared to other pigments as well as being less toxic.
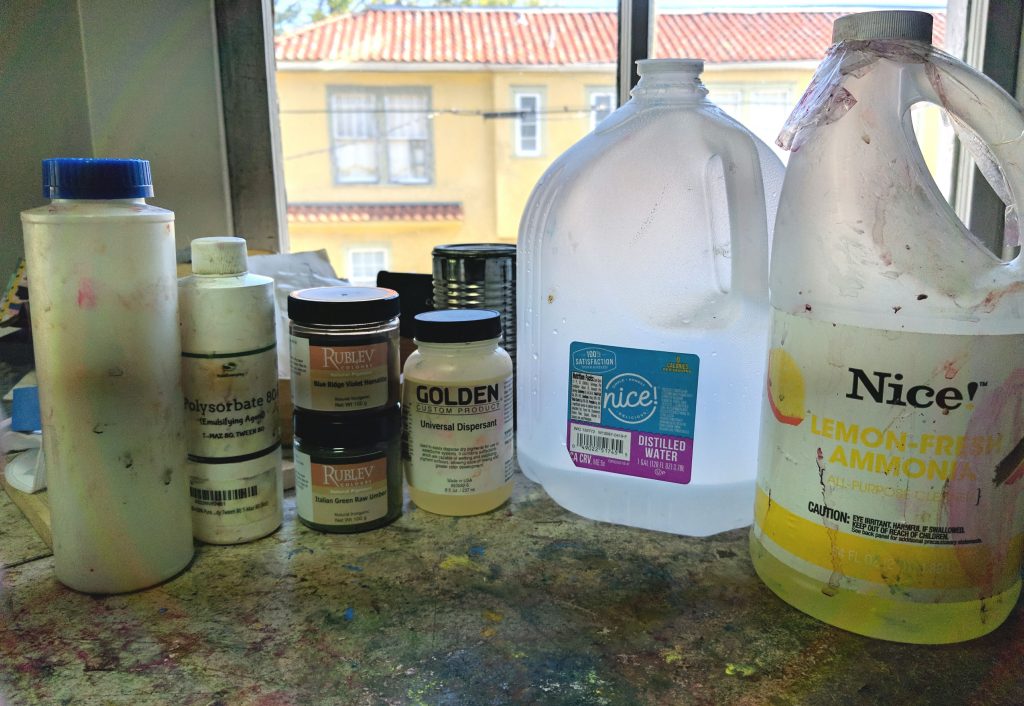
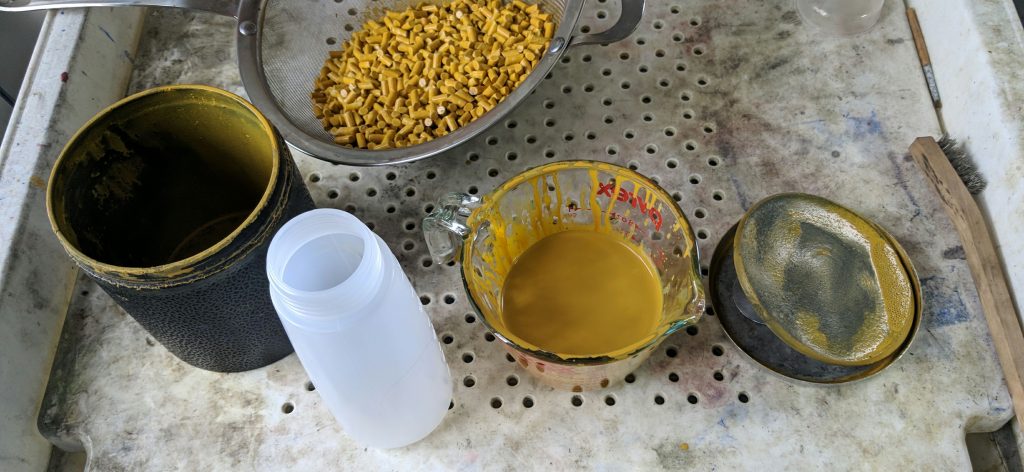
These are the supplies I will be using for this step of the process. The defoamer is to reduce foam created by the dispersant, Polysorbate 80 is used as an emulsifier to keep the dispersion from separating, in this I will be using Golden Universal Dispersant (you will need to call the custom product department to get this) though I usually use Orotan 731K (have fun getting this imported from Germany lmao). The ammonia is to raise the pH of the dispersion to keep it stable as well as kill any potential bacteria.

Wear some sort of mask or respirator! No matter how good your technique is, having some small particles of pigment become airborne during the process is inevitable and you do NOT want to be breathing that in. ESPECIALLY when working with higher toxicity pigments such as Cadmiums, Cobalts, or Leads. Breathing in anything that isn’t oxygen is asking for turbo cancer.
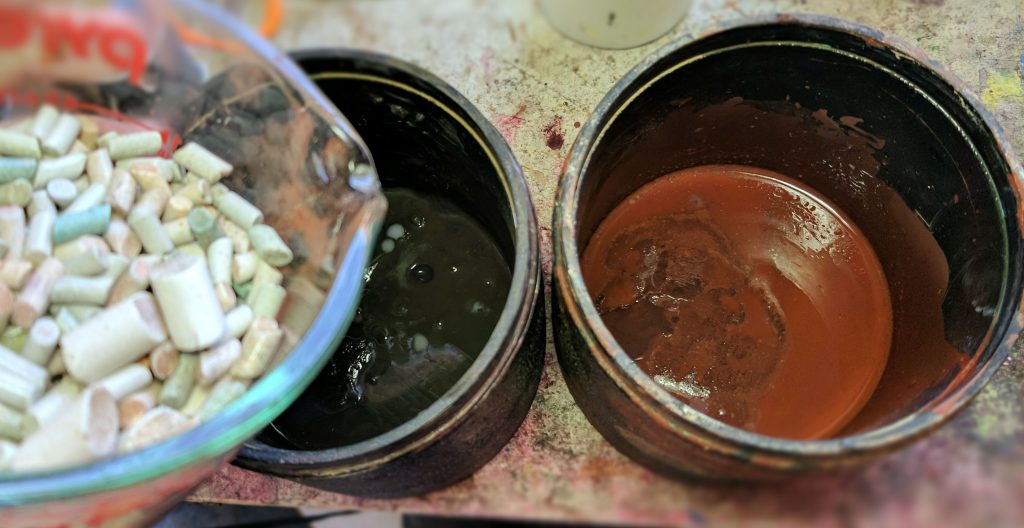
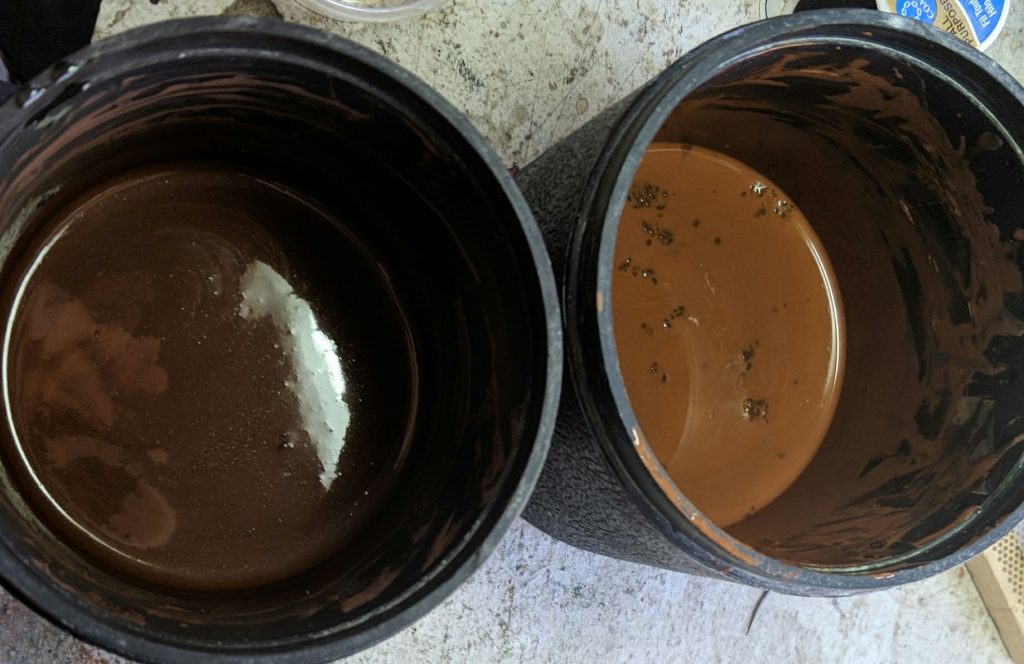
First I am going to clean out two containers, one containing ceramic media and two rock tumbler barrels. Get used to cleaning.
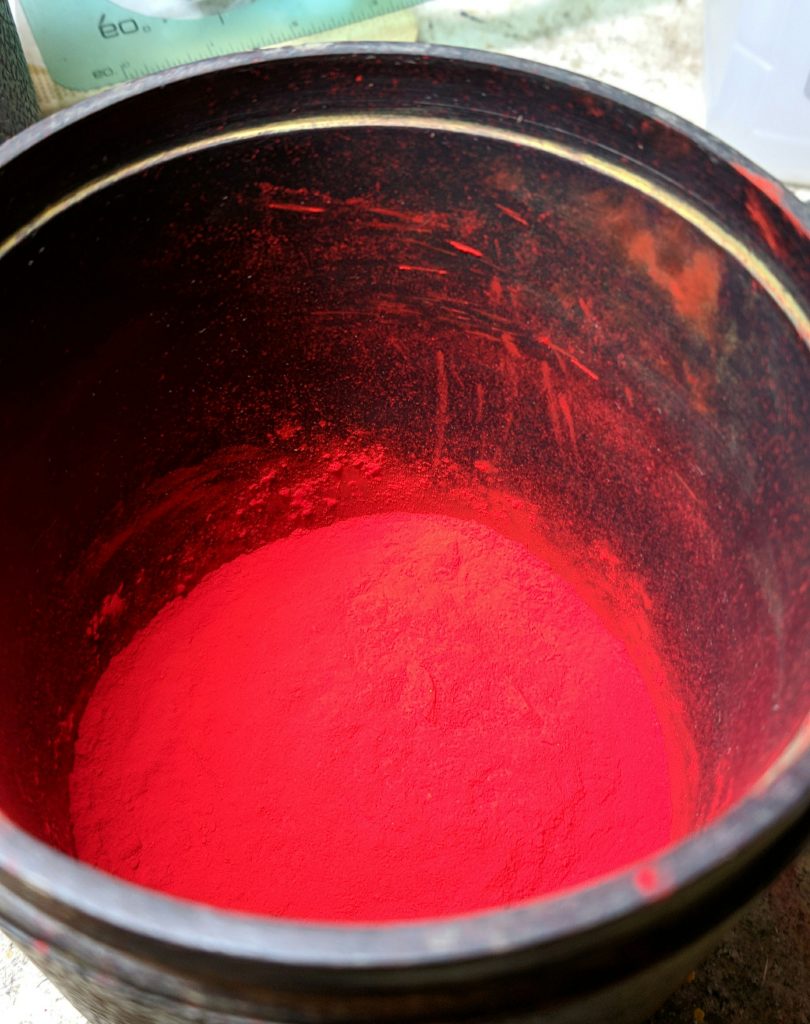
I’m going to dump the entire jar of pigment in each container, this is just because I know exactly how much the jars hold and it becomes convenient to measure out proportions later on. You probably don’t want to fill it higher than 1/4th of the barrel.
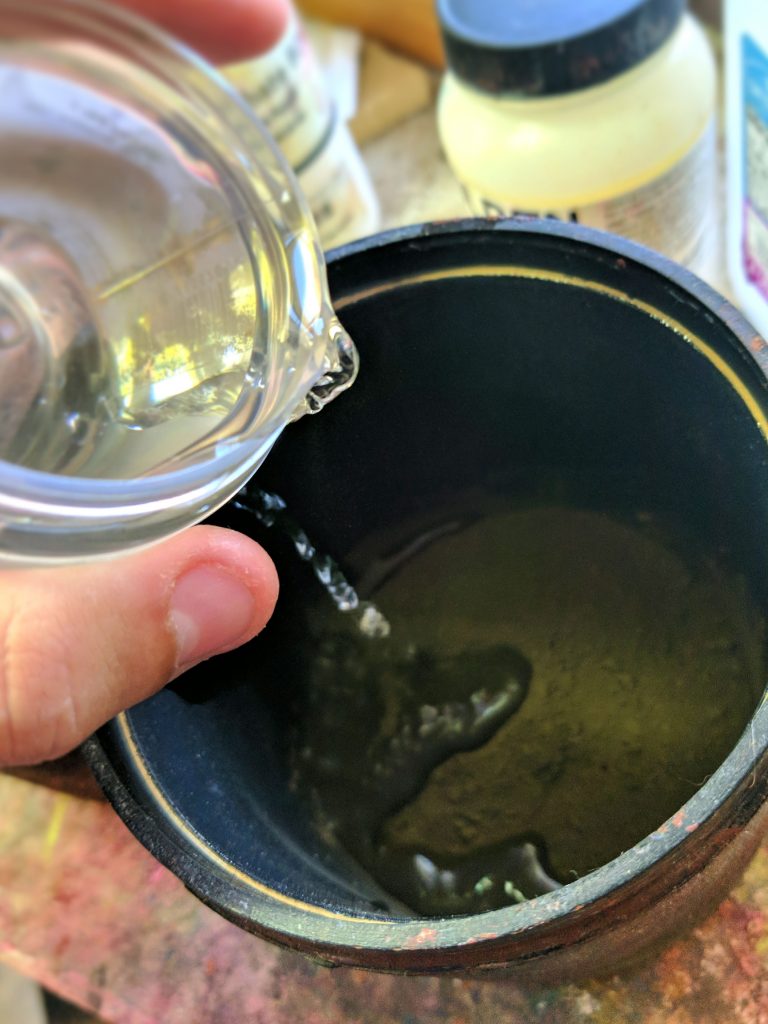
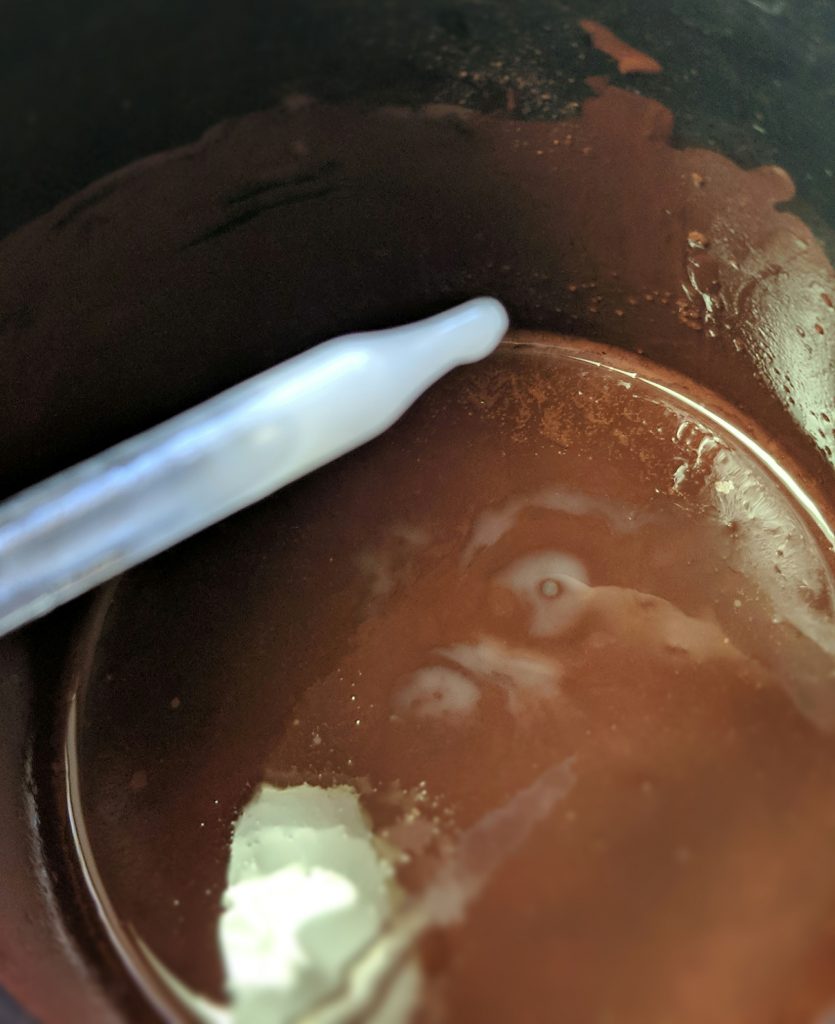
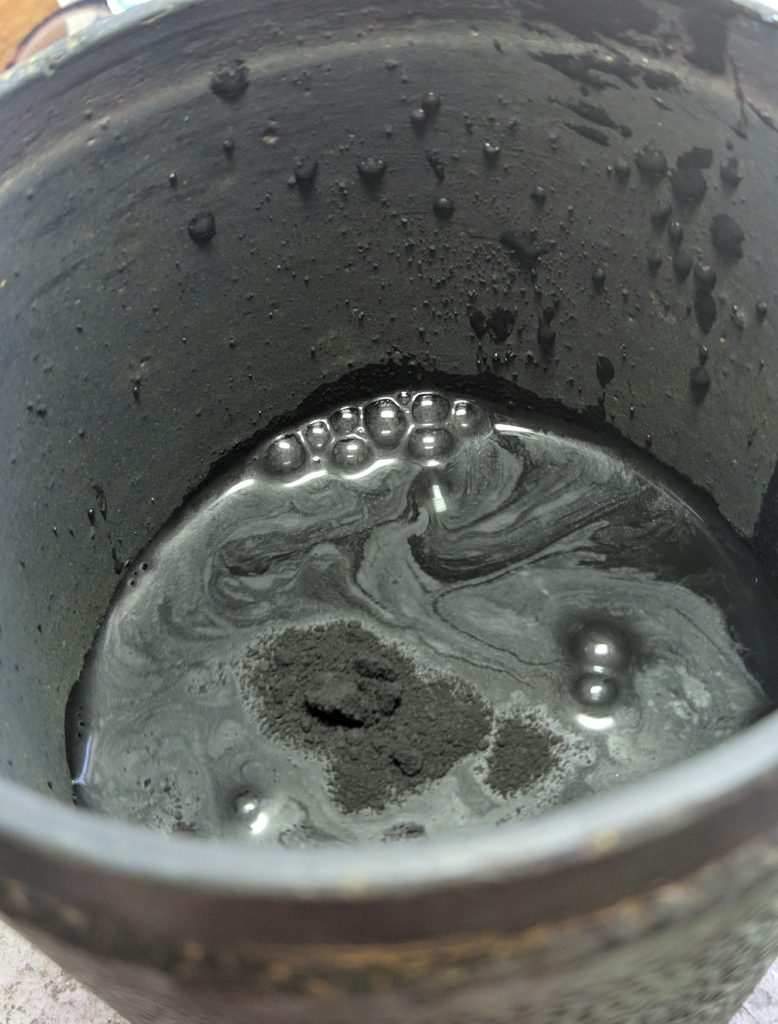
Pour an equal amount of water to pigment in the barrel. This nicely introduces the largest challenge of making acrylic paint. With oil paint, the binder is made of oil which is fatty and allows the dry pigment particles to readily bind to it. However, with acrylic paint, the binder you are using is water soluble. This presents a challenge as dry pigment is incredibly hydrophobic. In the case of a pigment like phthalo blue, comically so. If you just try to make acrylic paint the same way you would make oil paint, the dry pigment is going to clump together and create a really grainy inconsistent paint with poor mixing ability. The pigments I am using here are not as bad as others but still take a bit of work to disperse in water, though it may be hard to see in the photos, the water is just floating on top of the dry pigment on the bottom of the barrel.
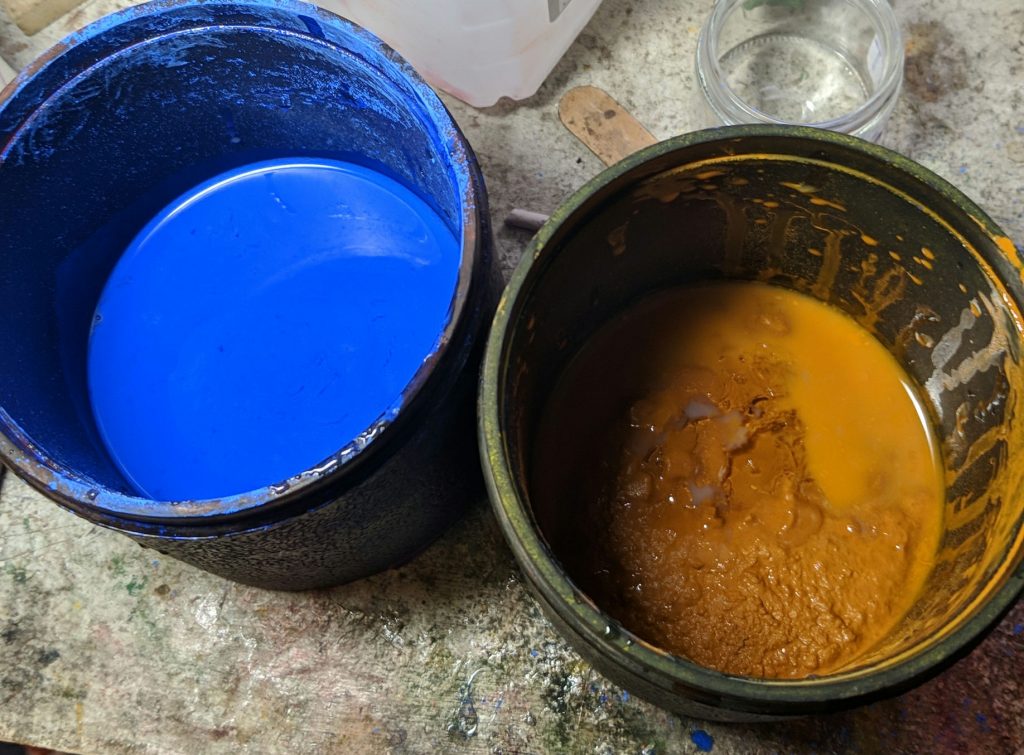
To solve the previously mentioned issue, you need to use a dispersant/wetting aid. This is a headache for an individual to get a hold of so good luck. I’m slowly introducing the dispersant drop by drop, stirring the mixture each time until I feel all the dry stuff is coated. I try to get it to a pancake batter consistency, but its okay if it is thinner. Generally you don’t want to use too much because the more you use, the more foam the dispersion is going to generate when you’re done. I cant give an exact amount to use because there isn’t an exact answer, the amount will vary a lot depending on what pigment is used.
To help combat the foam that will be generated by the dispersant, you can add a defoamer. The amount you use will depend on the amount of dispersing aid you add, generally you only want to use a couple drops as using too much will affect the quality of your paint film when it dries.
Pour in a bit of ammonia, it’s important to keep the pH high.
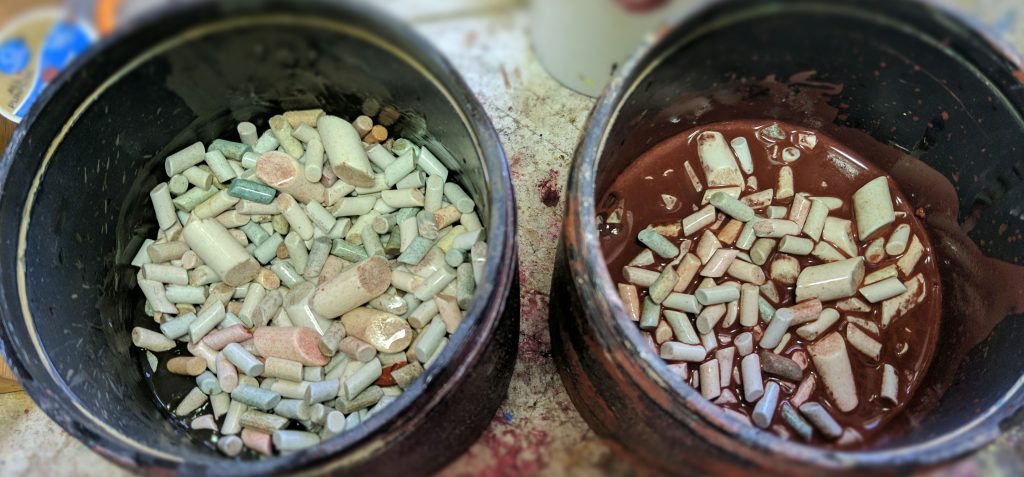
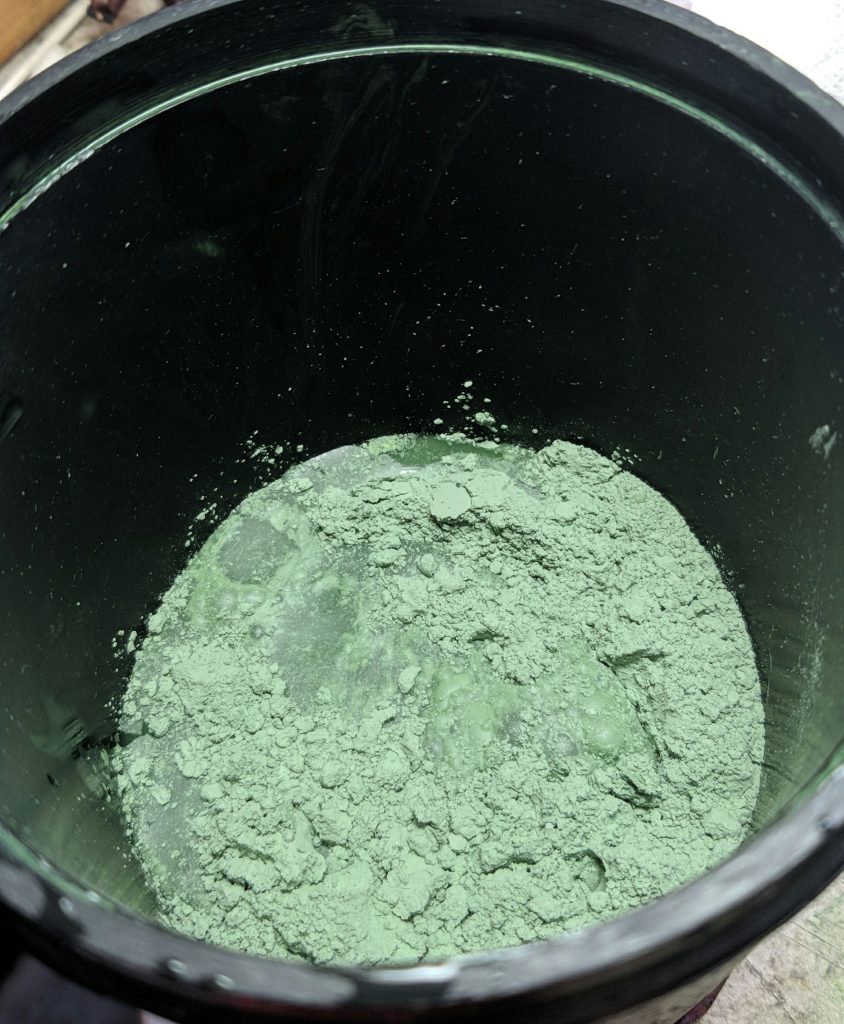
Now that everything is added, the final step is to pour in ceramic media. Since no normal person has access to a massive vat with steel balls to mix all this together in, I’m making do with a rock tumbler. For this scale ceramic media will work. Fill as much as you can before the barrel is 3/4th full. The more media you have, the better it will mix, but if you have no empty room in the barrel only limited motion will be possible.

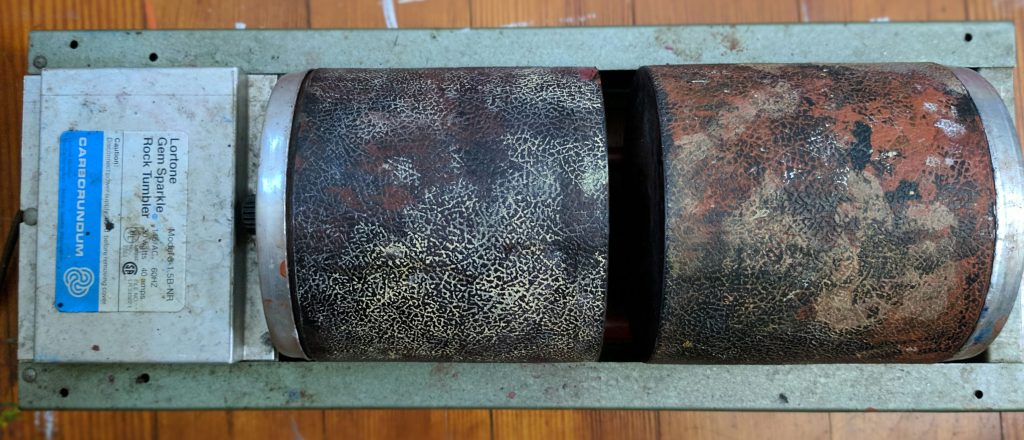
Seal up the two drums as tight as you can to prevent leaks. I haven’t had it happen but the thought of it leaking keeps me up at night. Once you place them on the rock tumbler, plug it in and wait 12-24 hours. Generally I just have it going over night.
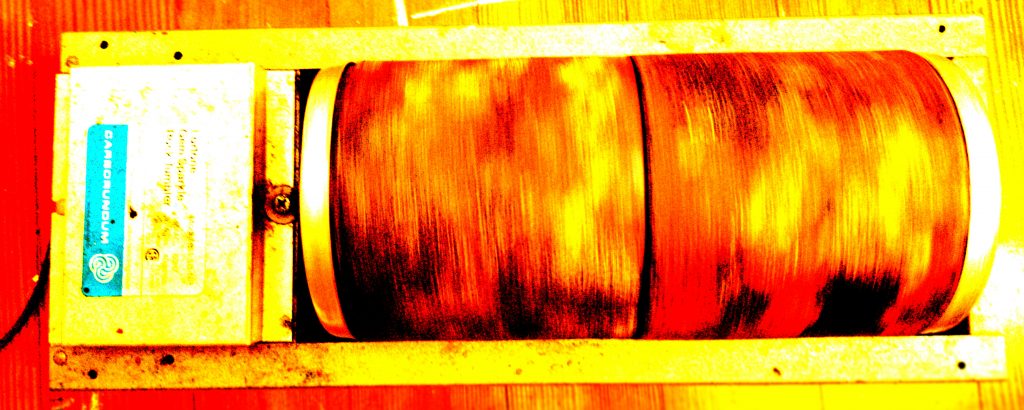
DAY TWO:
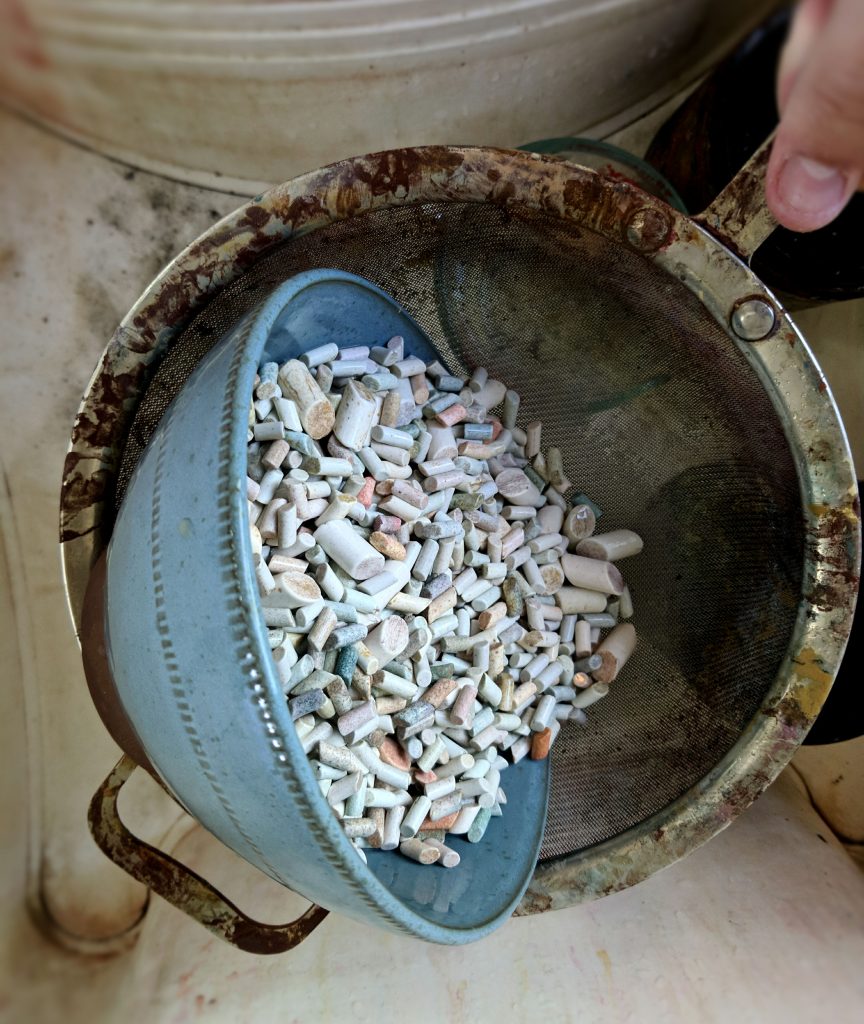
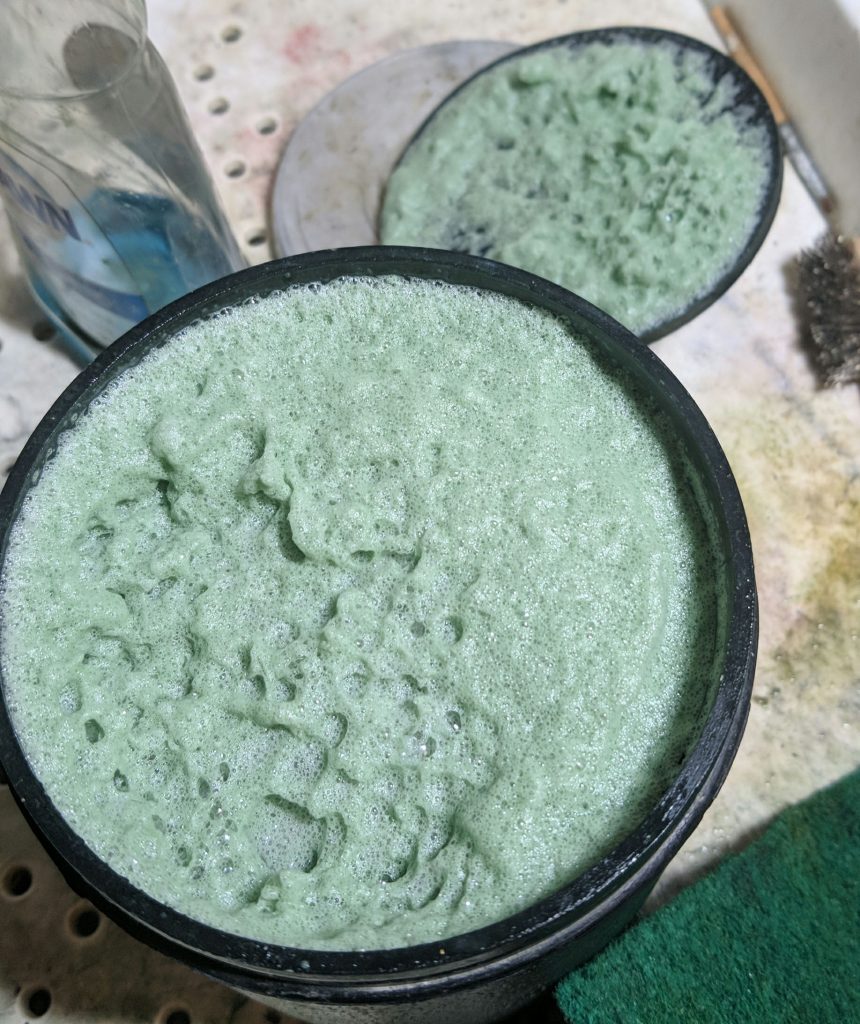
Now that 24 hours have passed, lets crack open these bad boys and see if I messed up something.
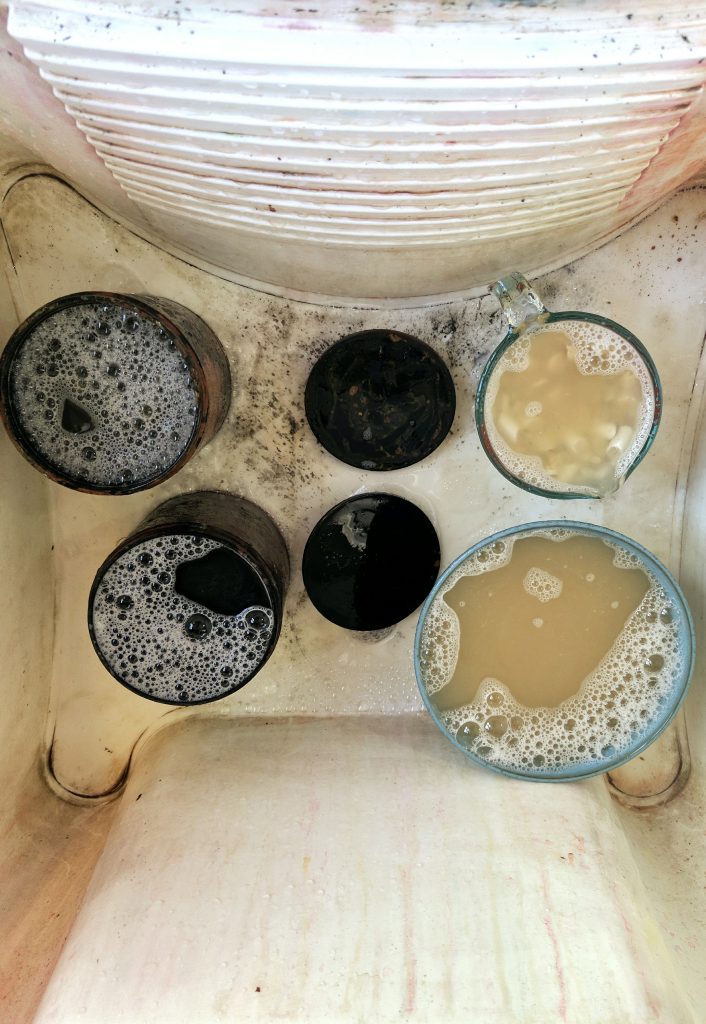
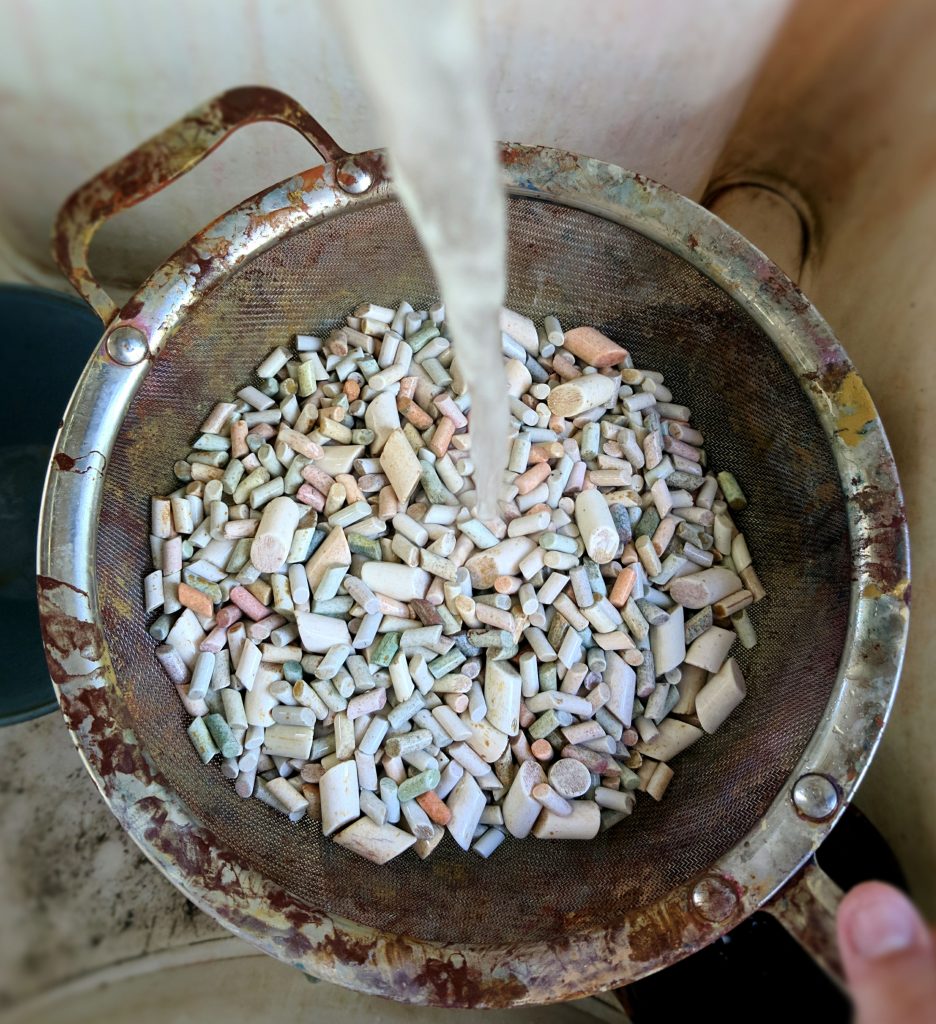
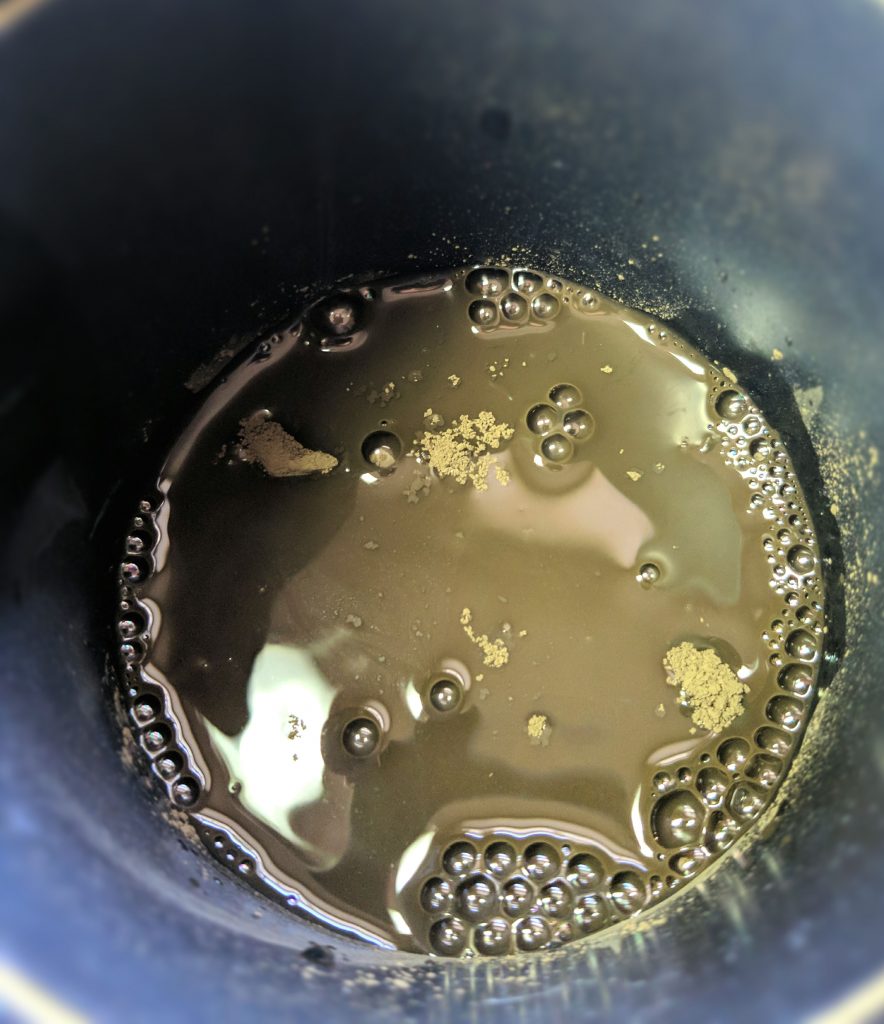
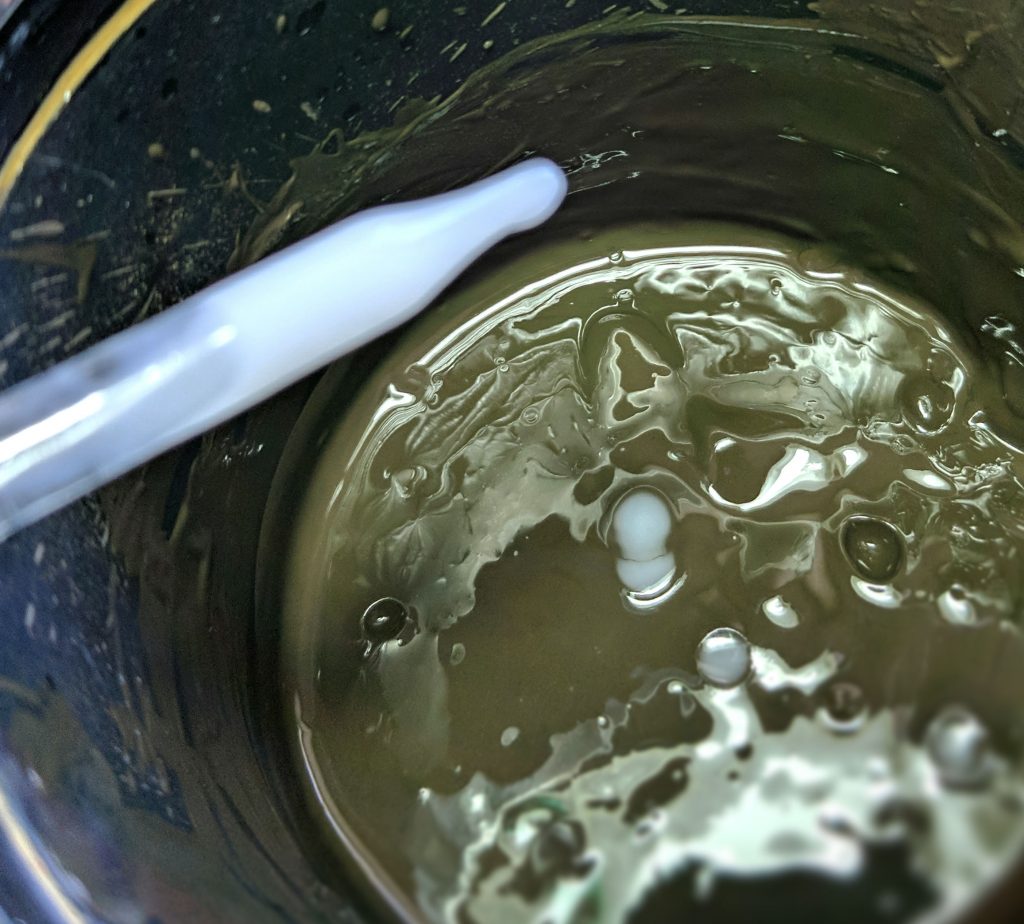
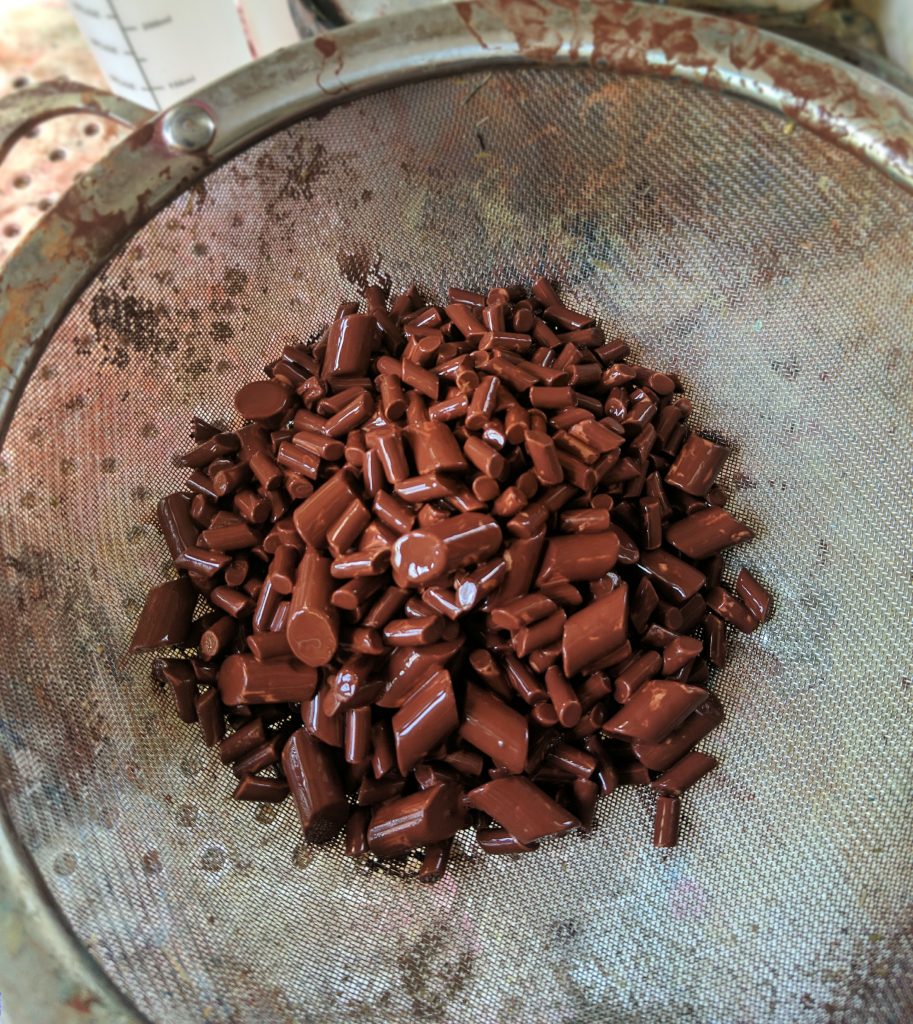
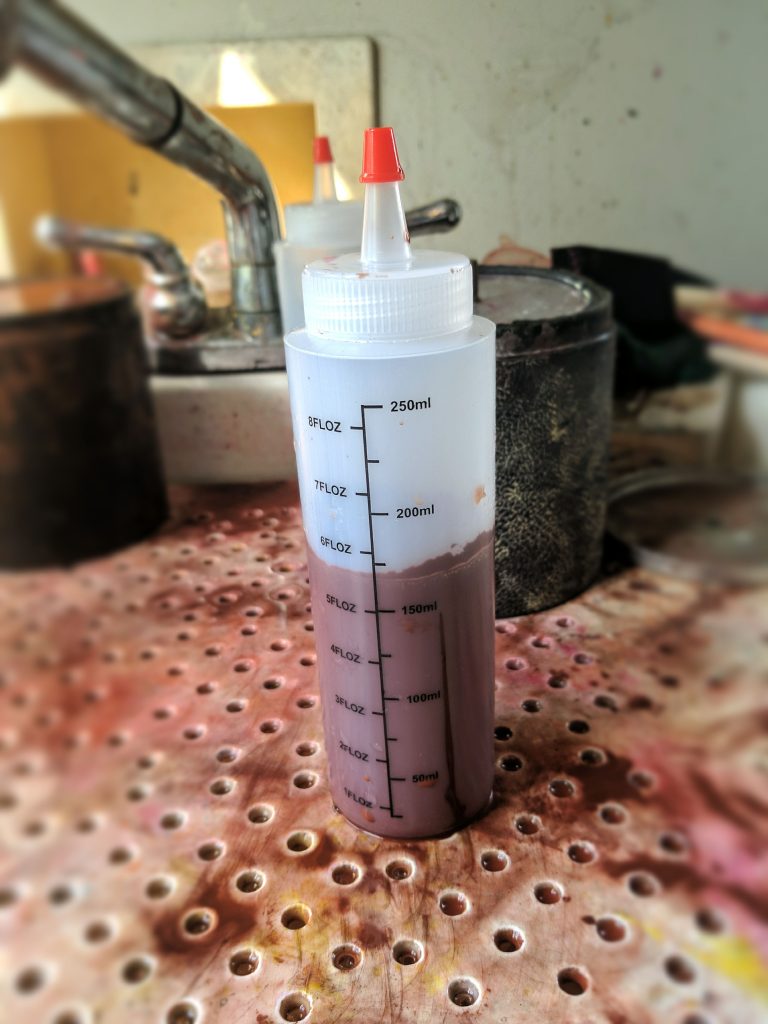
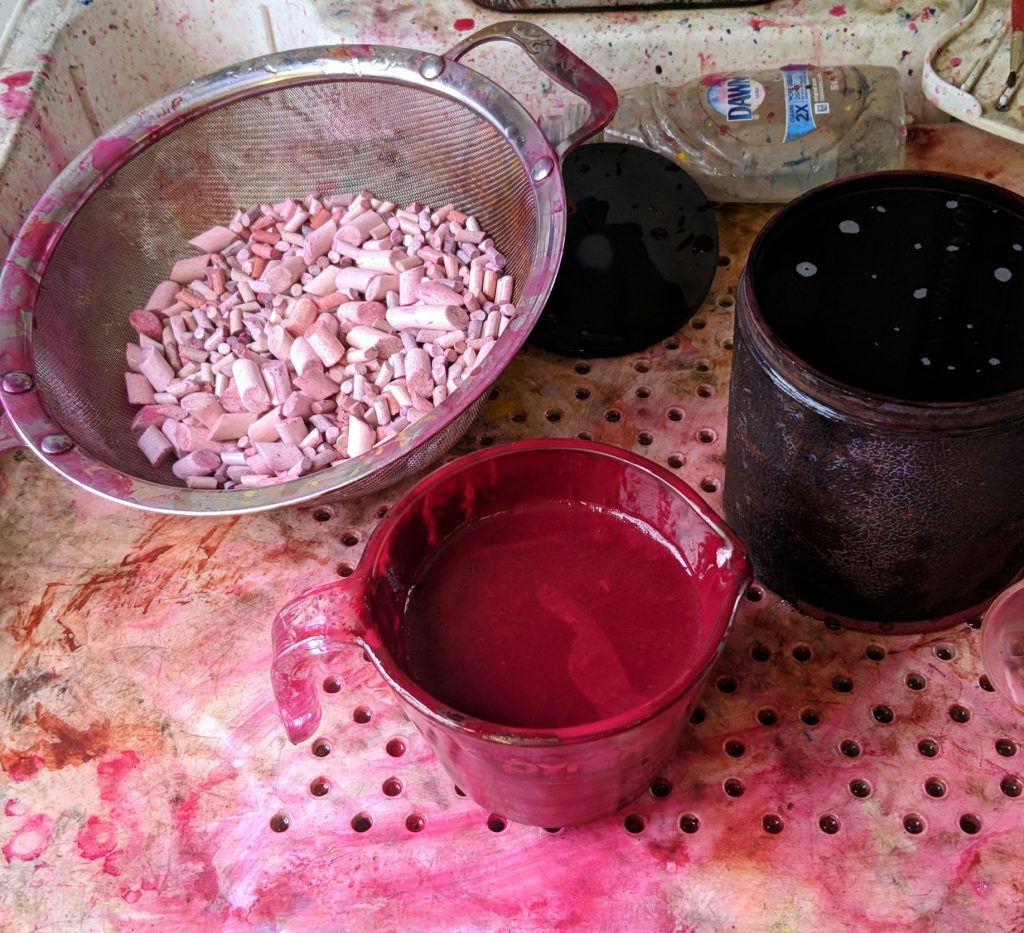
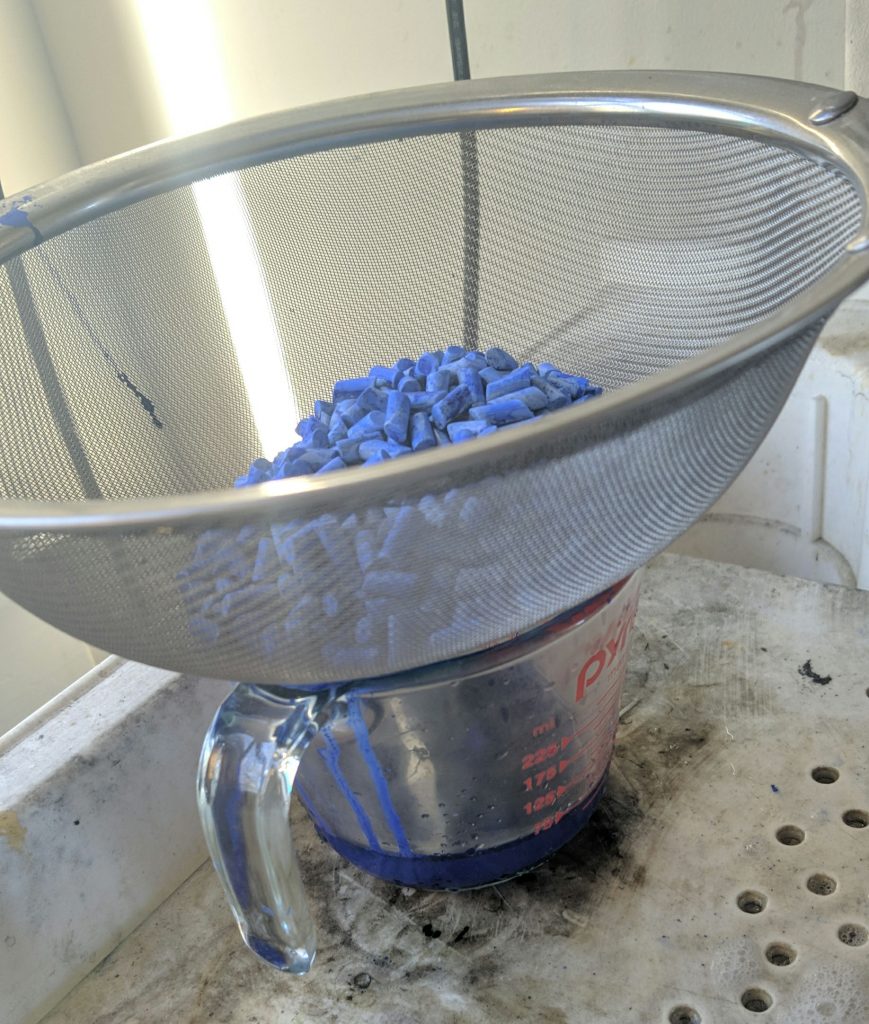
First step is getting out a sieve and placing it over this measuring cup thing. From here you’re going to pour the contents of one of the barrels into the sieve, filtering out the ceramic media from the dispersed pigment.
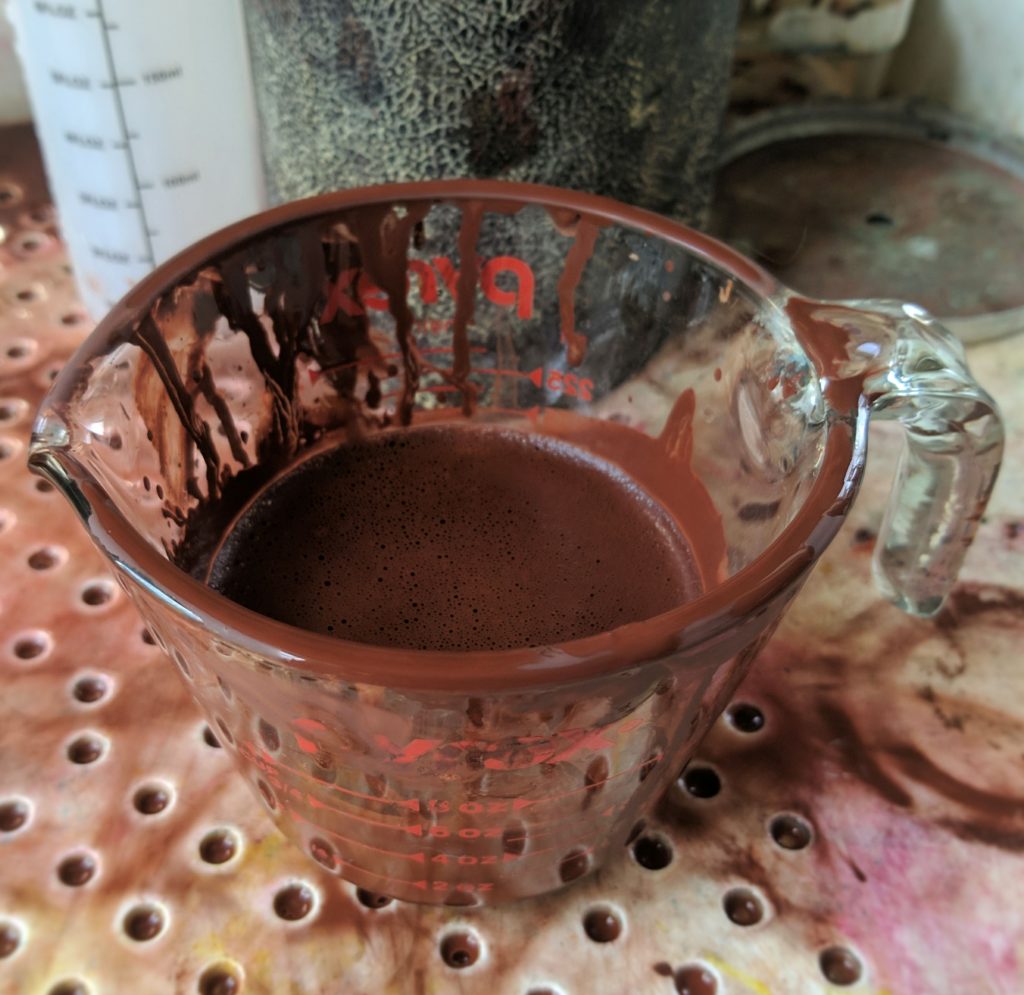
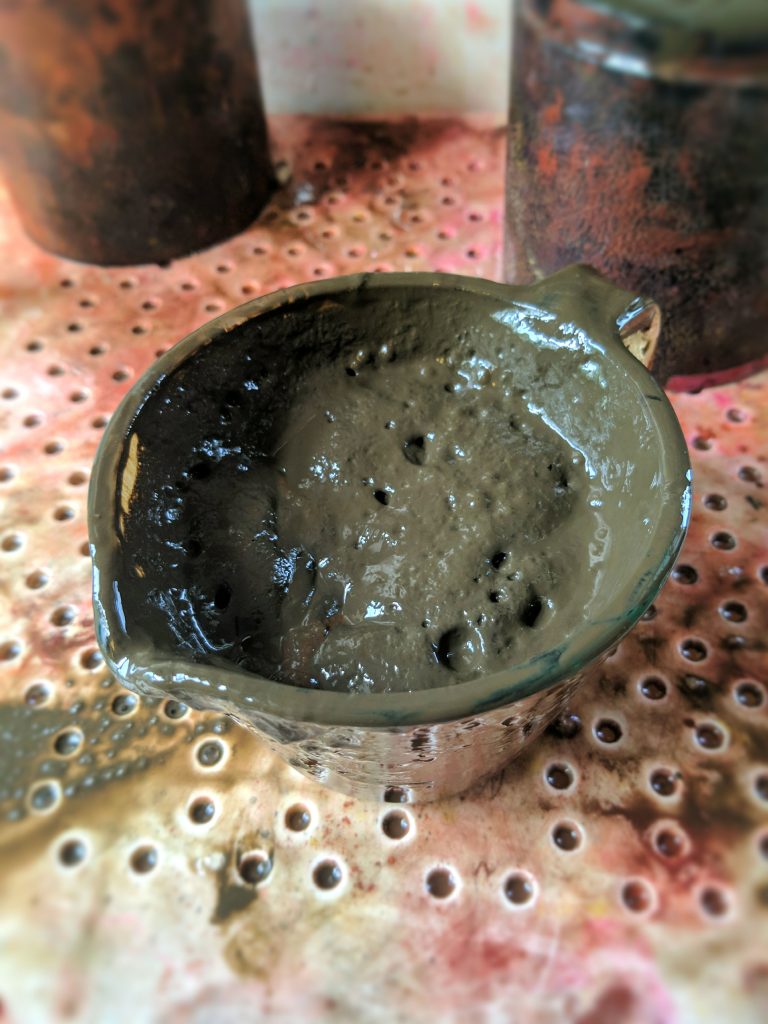

The green one came out foamier than would be ideal so I put a couple drops of defoamer on it and let it wait to settle. The defoamer pops all the tiny bubbles on the surface and its pretty satisfying to watch.
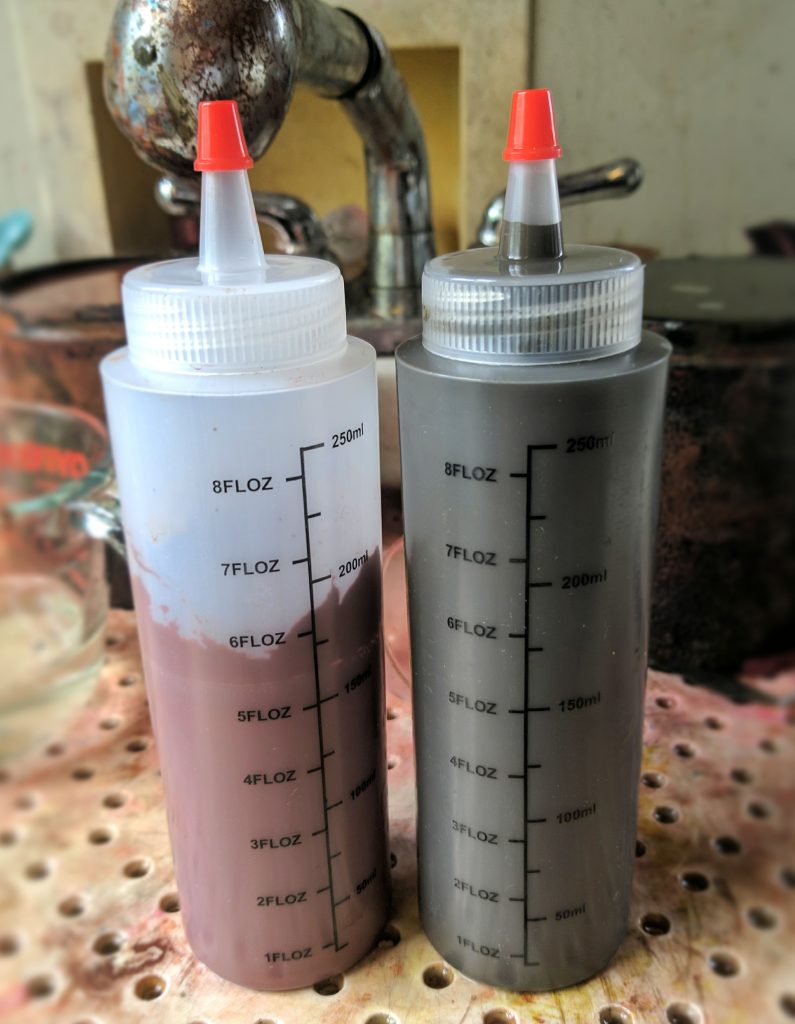
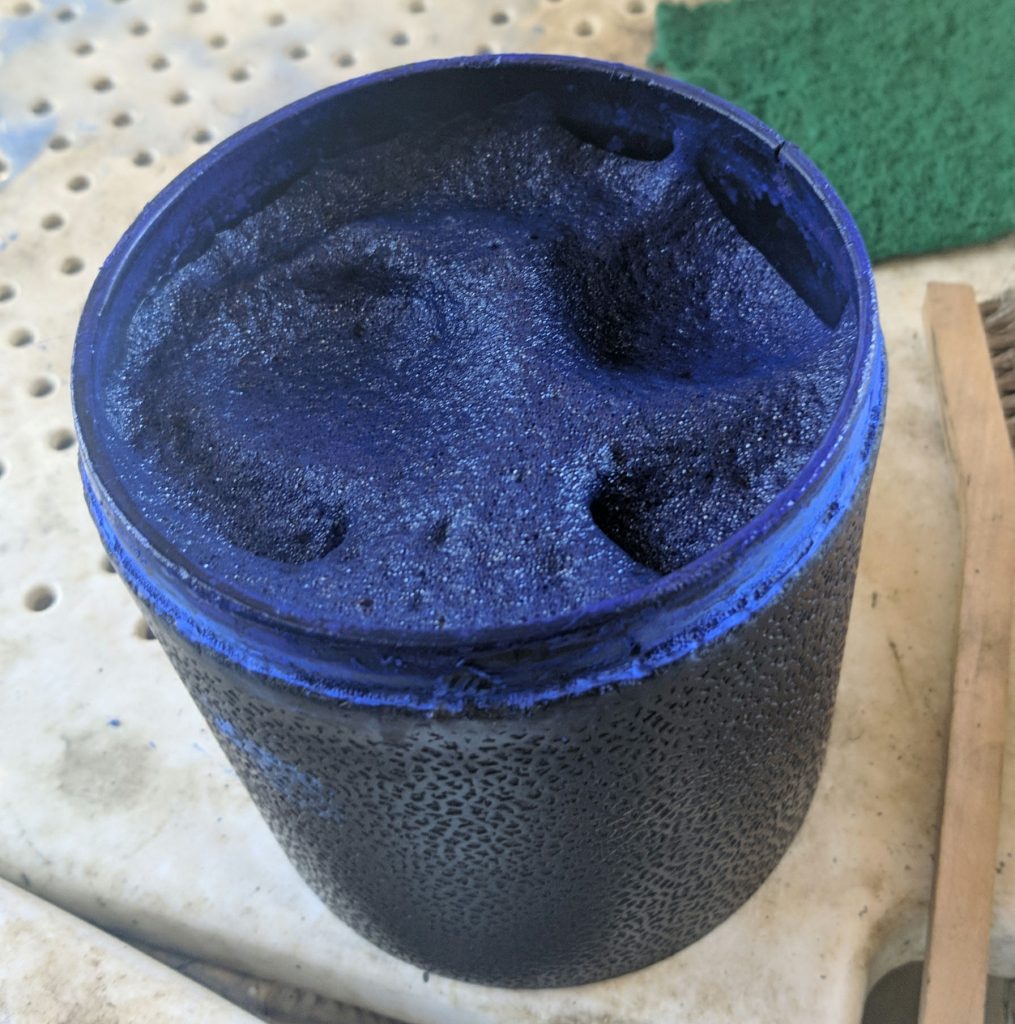
Congrats! You’ve managed to disperse something hydrophobic in water, take that nature!
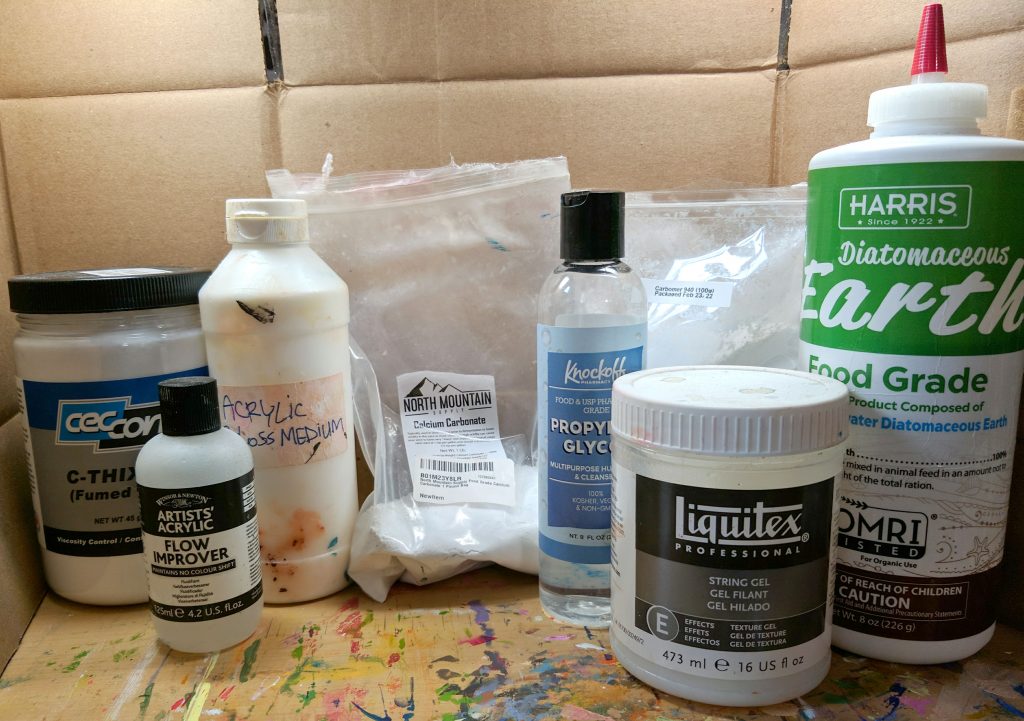
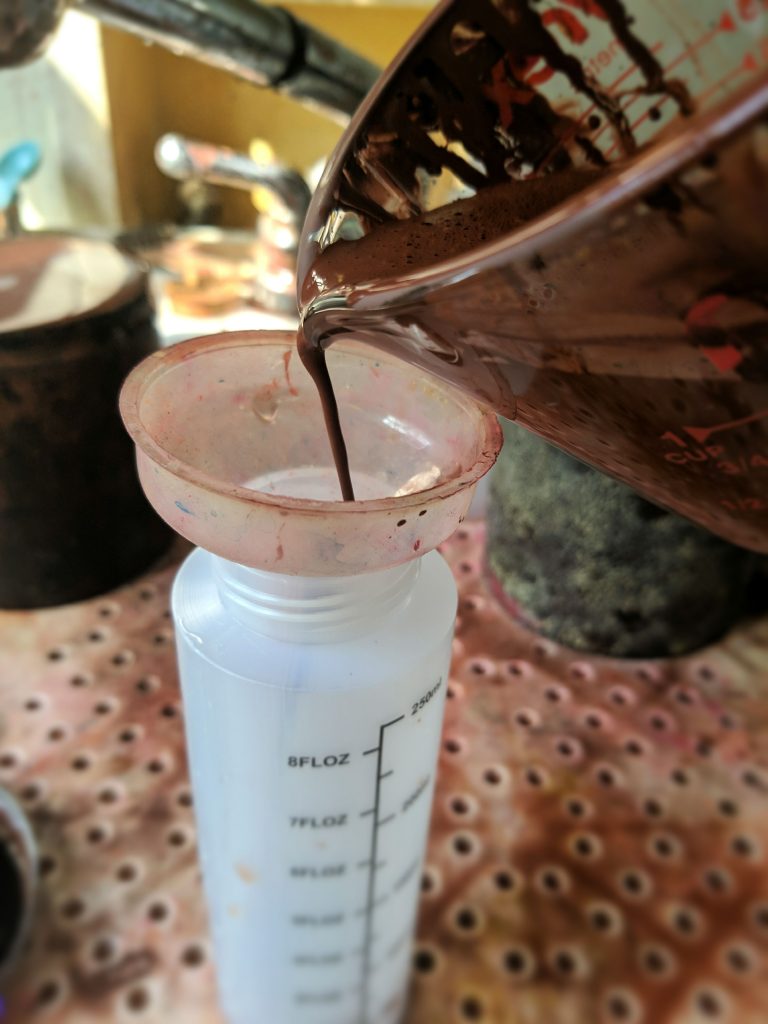
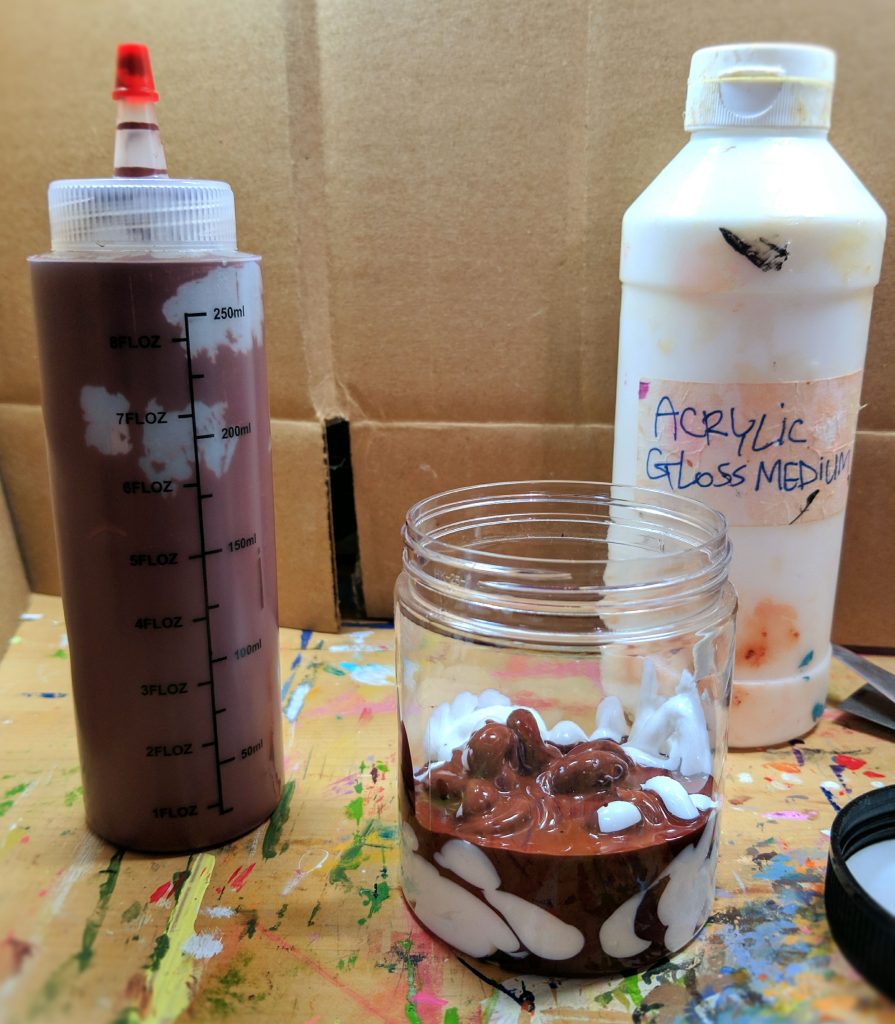
Now that you have your pigment dispersion, you can add it to whatever you want! Thanks to the pigments being waterborne, you can simply squirt some of the dispersed pigment you made into any water soluble binder and make any kind of paint you’d like, as pigmented or transparent as you’d like. In the photo above you can see a bunch of different additives which can be added to your paint to modify its properties. (from left to right) Fumed Silica can be added both as a weak thickening agent and as a matting agent. Flow Improver reduces the surface tension of the paint and will substantially thin out the consistency of your paint. Acrylic Gloss Medium is the binder I’m going to use. Calcium Carbonate (chalk) is a common paint filler and can be used to make your paint more opaque as well as reducing its gloss and increasing paint thickness. Propylene Glycol in small amounts can be used as a paint retarder, increasing the drying time of your paint, however using too much may damage the paint film or make it never dry. String Gel is an alternative binder which has a stringy honey like rheology. Carbomer 940 dramatically increases paint thickness. Diatomaceous Earth can be used as a matting agent.

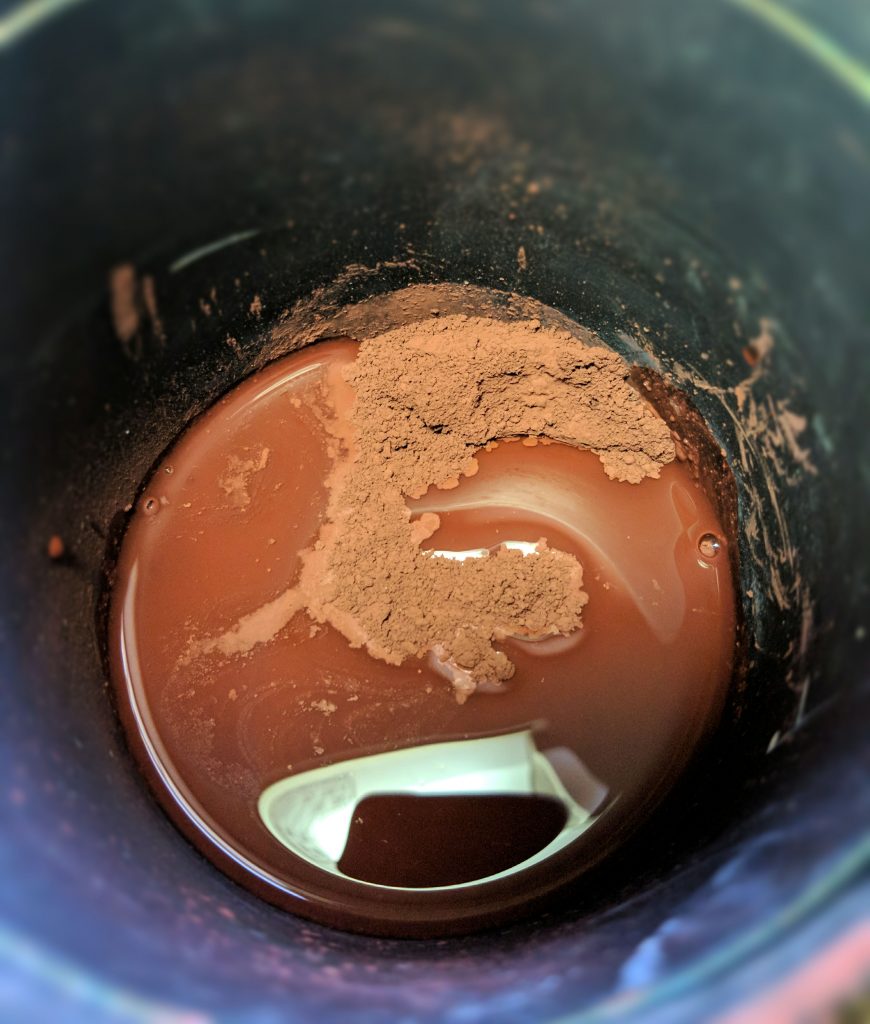
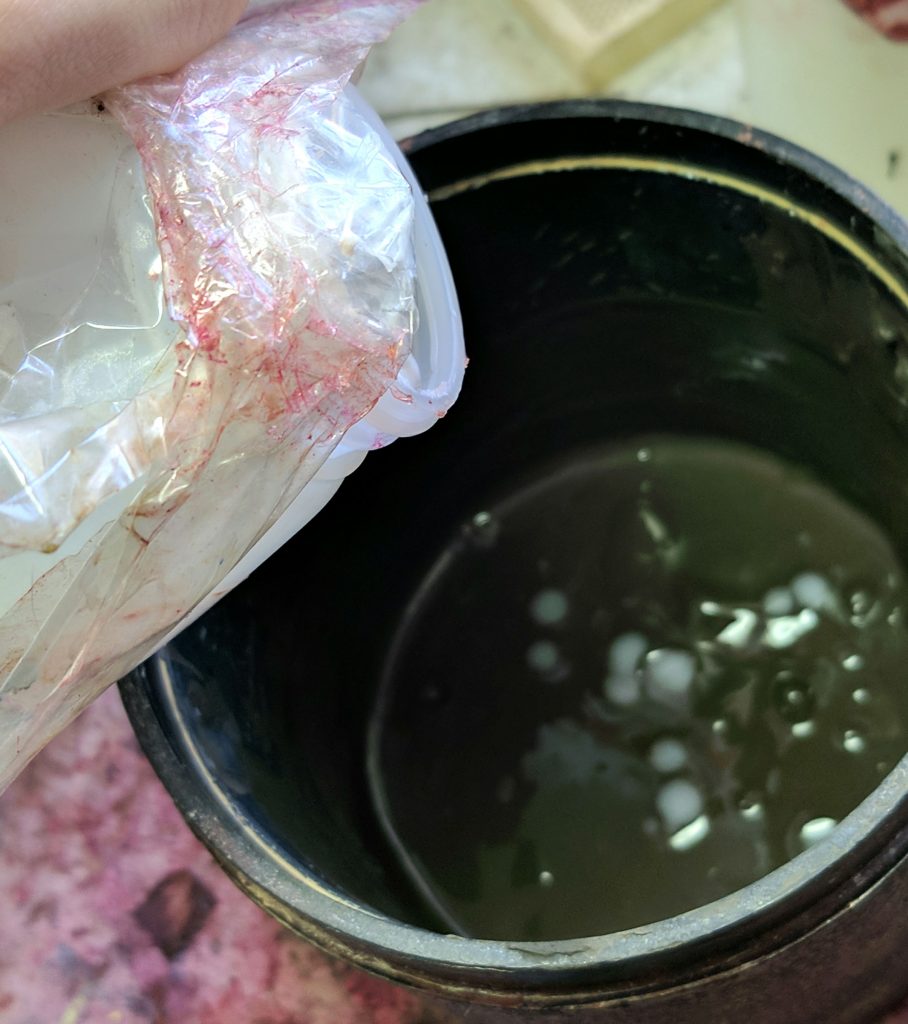
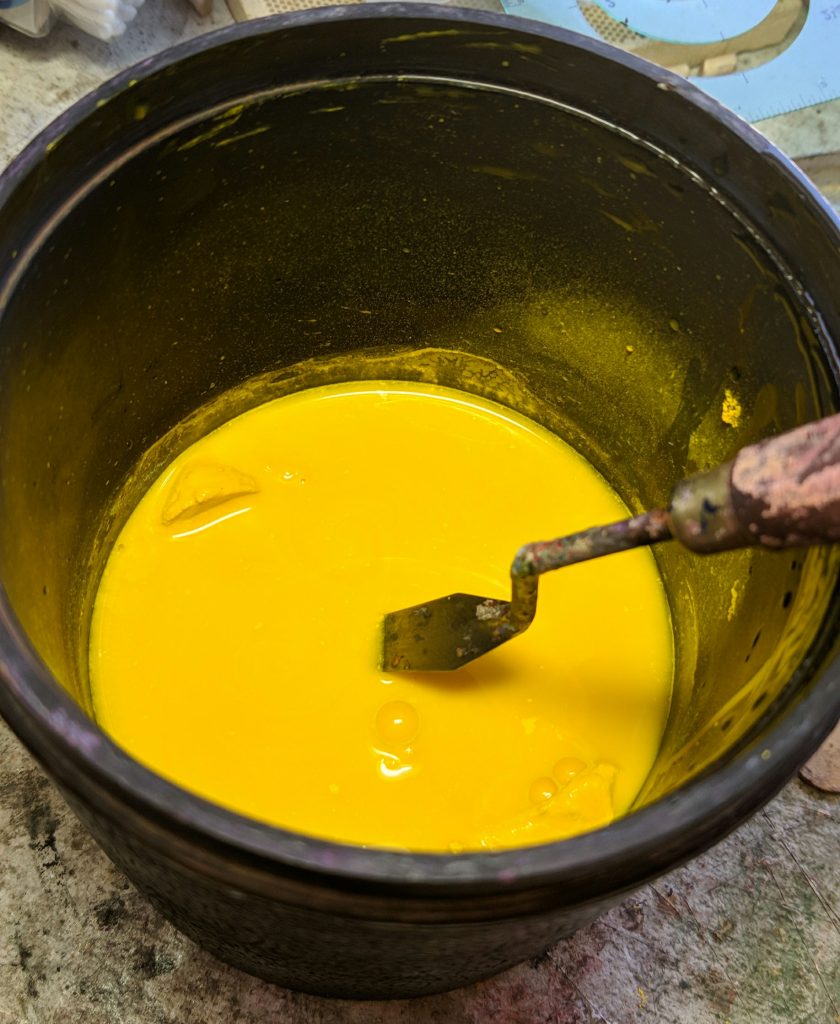
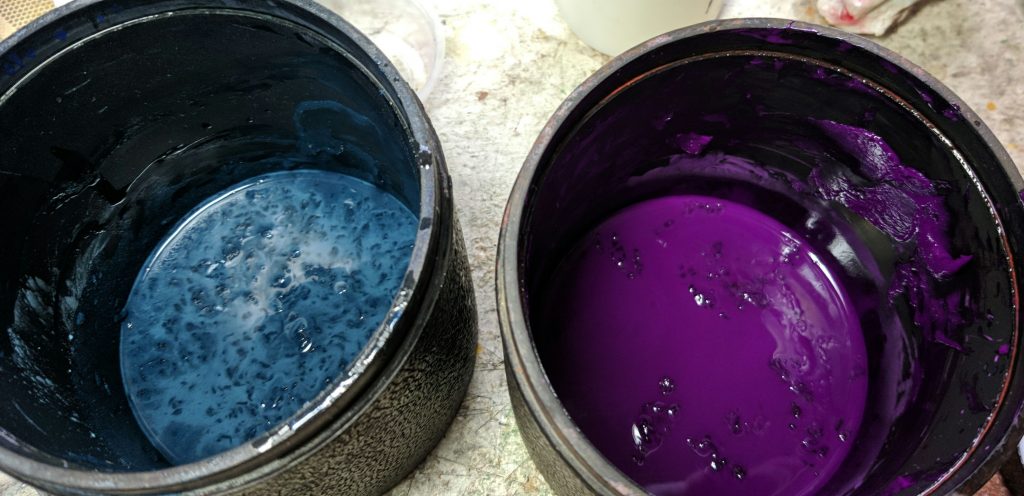
For the actual paint making part, all we need is a jar, something to stir with, an acrylic binder, and our dispersed pigment.
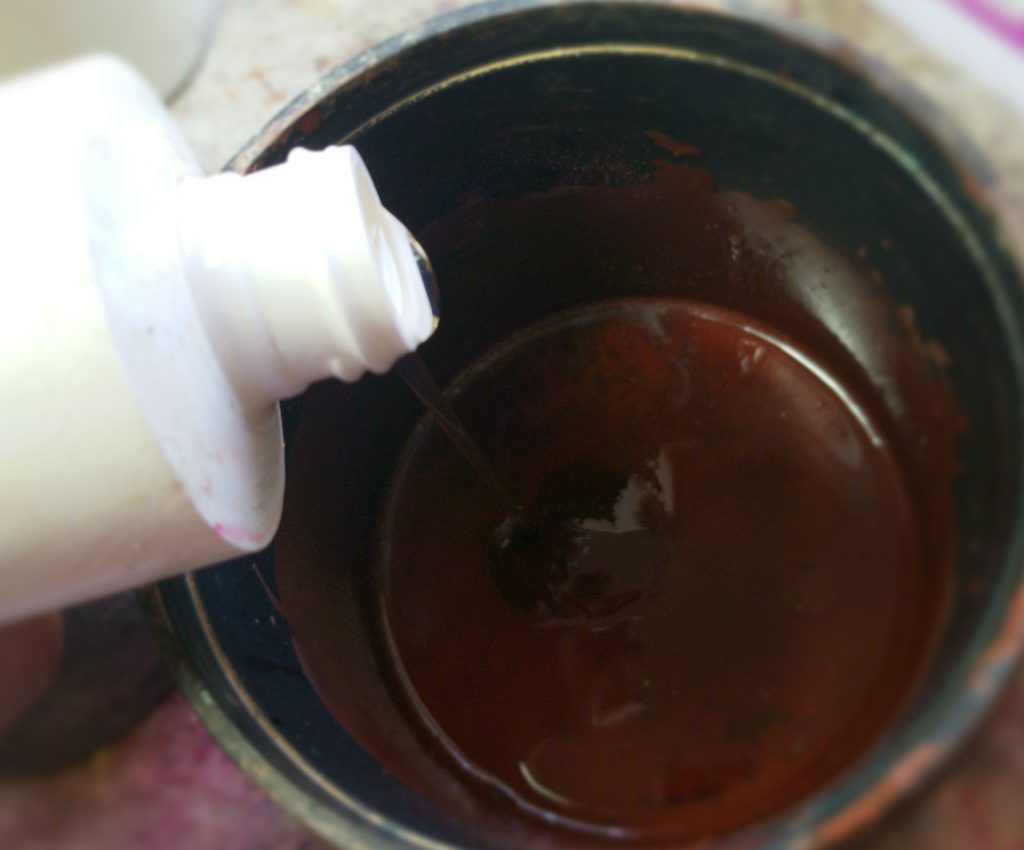
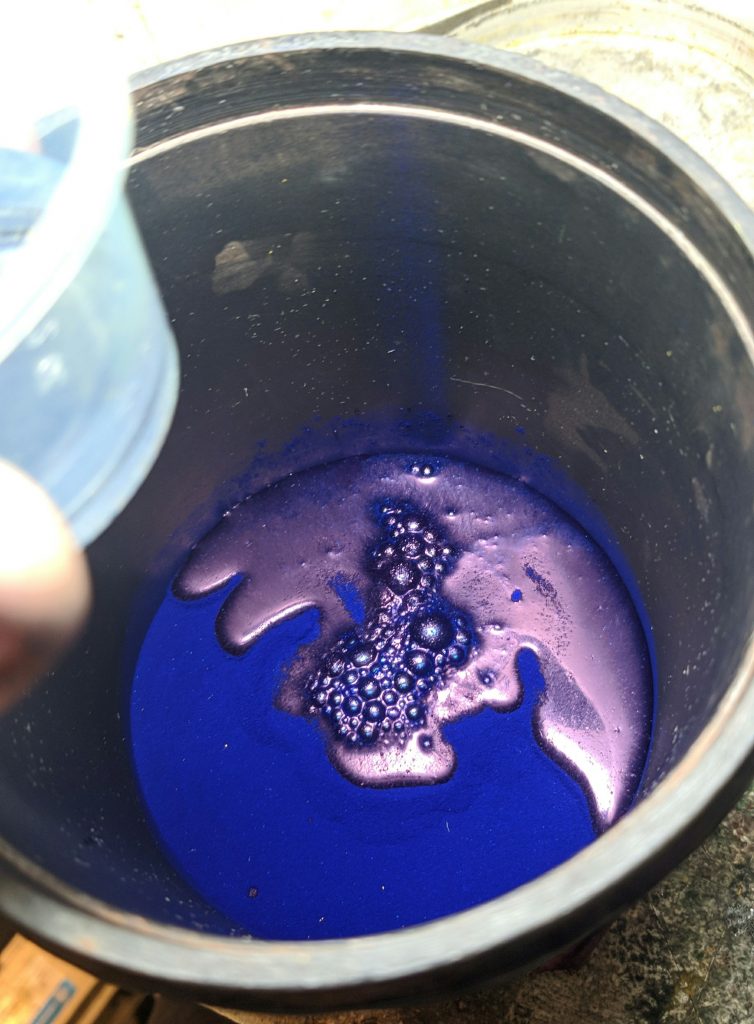
I generally start out with about 1:1 pigment dispersion to binder but you can change the ratio depending on how pigmented you want the paint to be. Since most acrylic binders are semi transparent white (but dries clear), this can be helpful to visually determine how much pigment is in it. With high staining pigments like the phthalo and pyrrole pigments you can get away with using much less pigment.
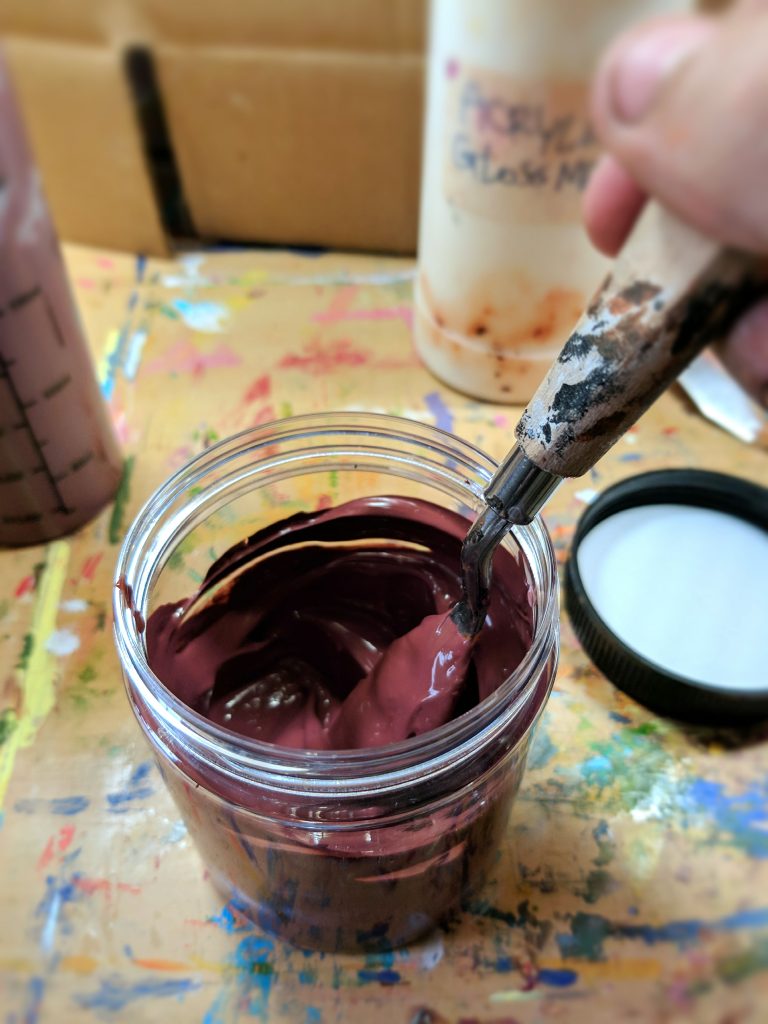
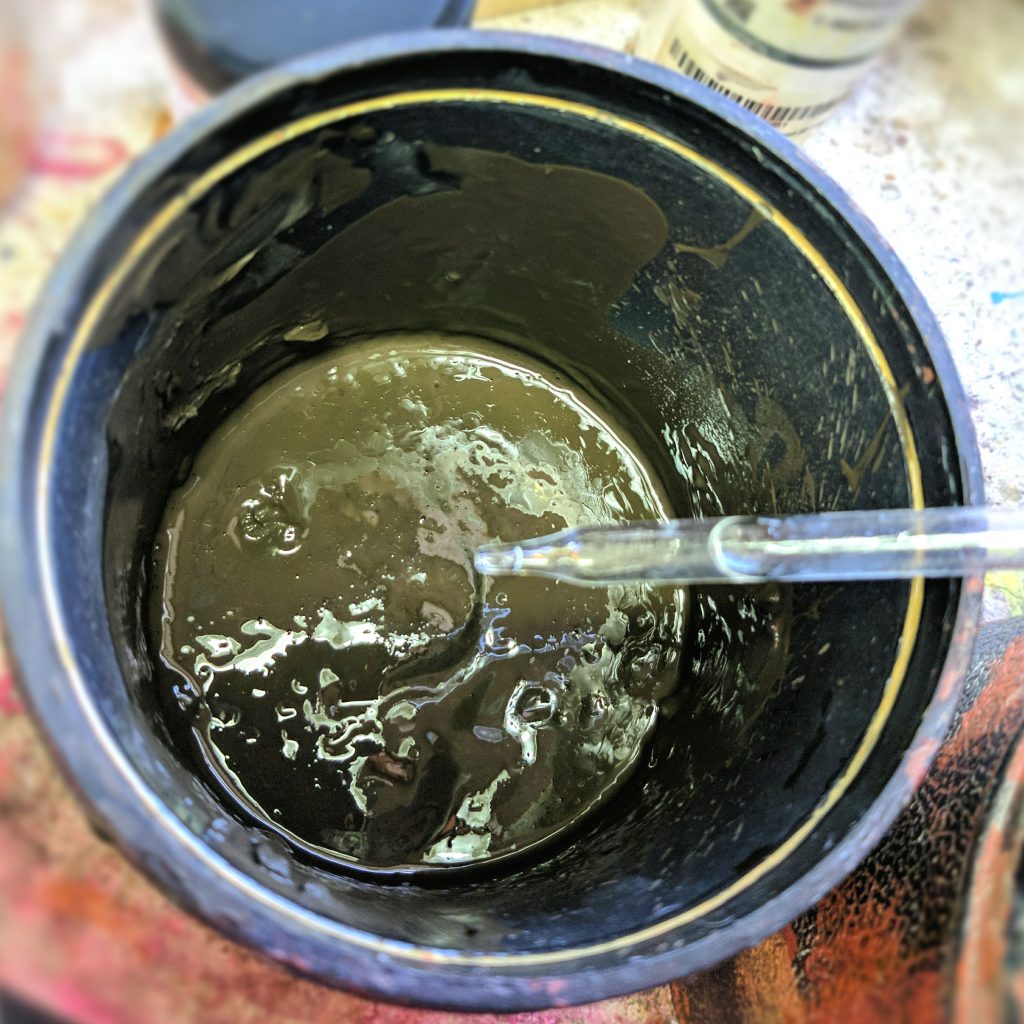
Stir vigerously with the palette knife until the color is consistent. Whenever you add any solid additives, close the lid and shake. Doing this by hand generally takes a lot of work, but I’m not investing in one of those fancy industrial paint mixer machines.
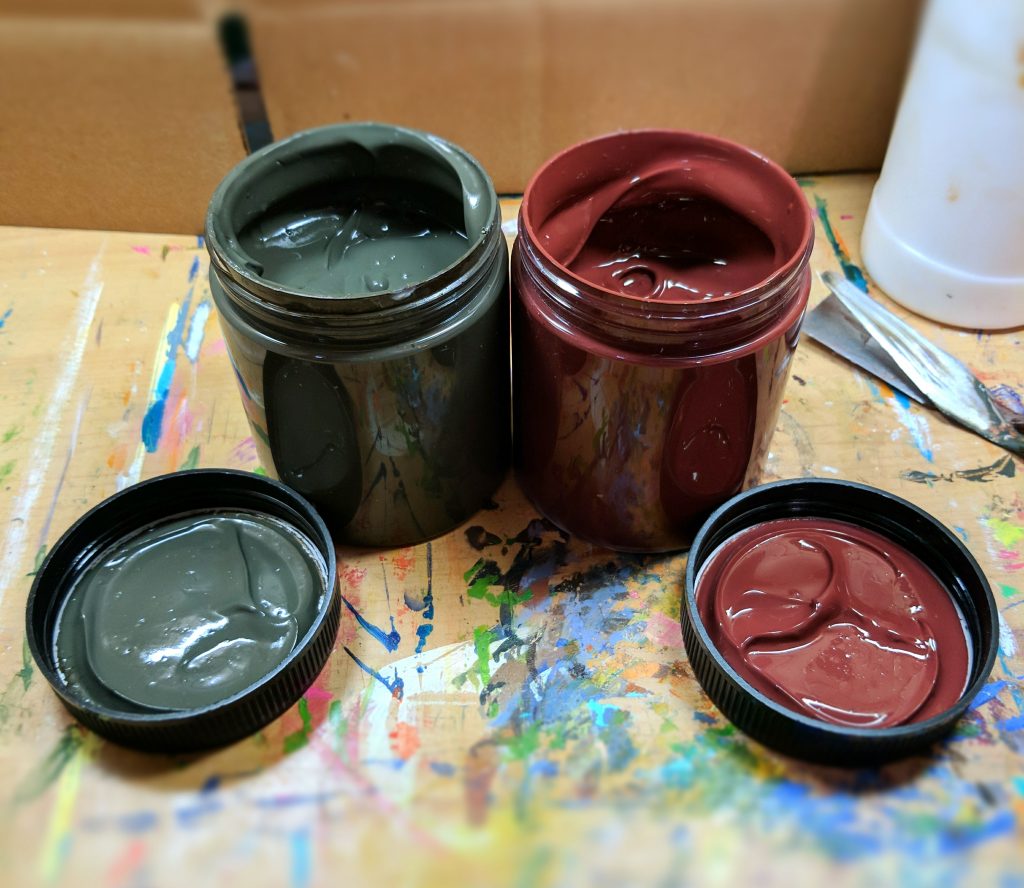
Once its all mixed up and at a consistency you’re happy with, you’re done! Now it’s time to slap a label on it and make a sample.
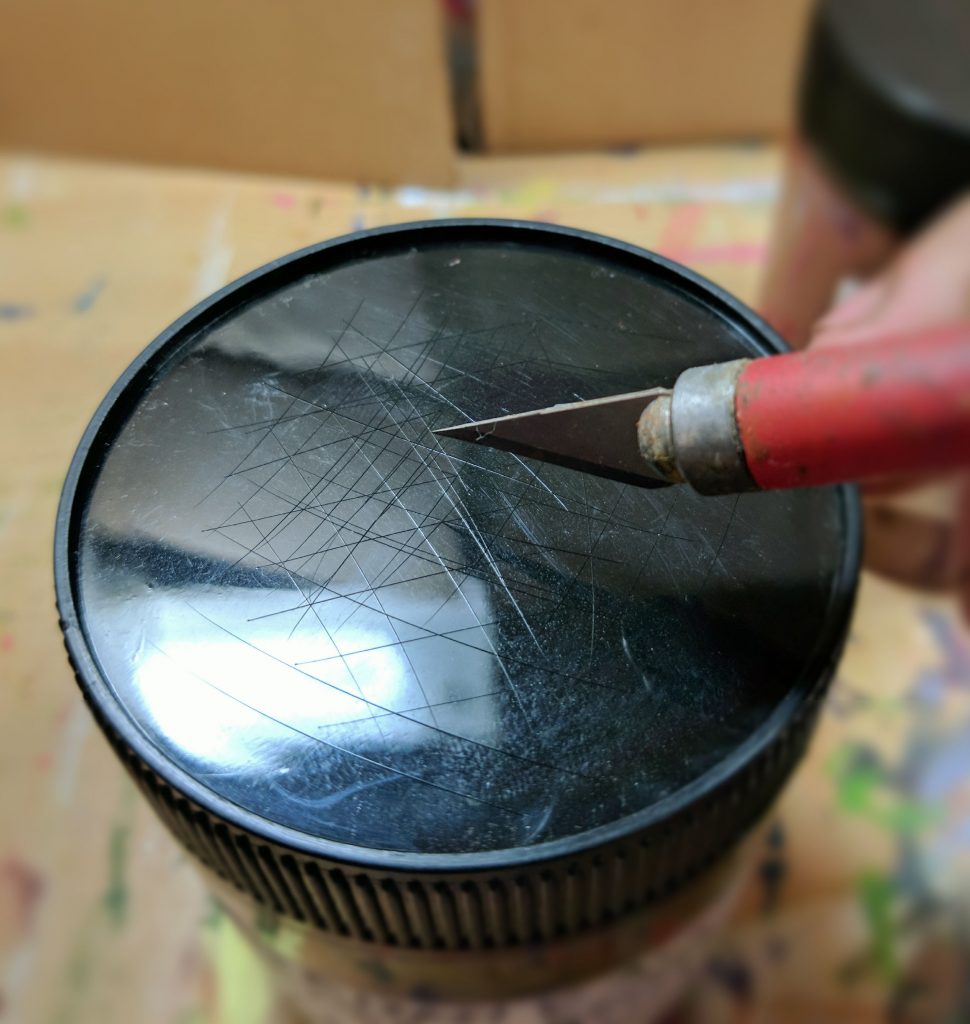
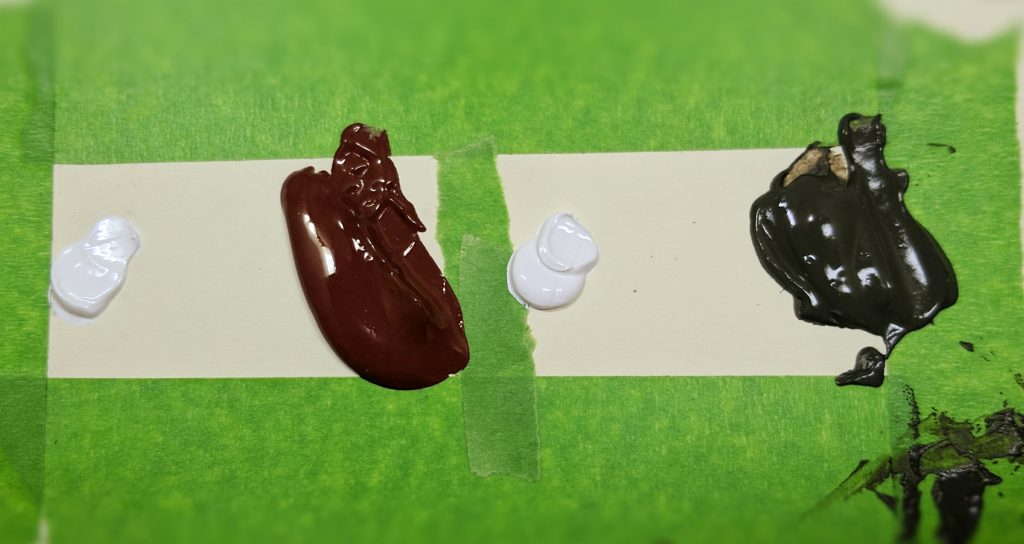
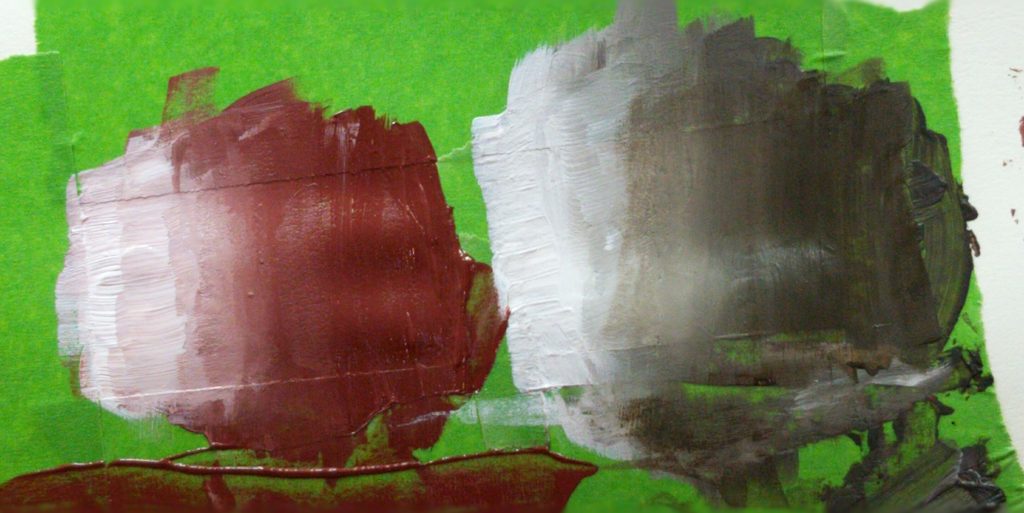
I cut lines in the top of the lid to give a textured surface for the sample to stick to. For the samples I do a gradient from mass tone to white, this is useful because two colors which look the same out of the tube may look wildly different once mixed with white depending on the pigment used.
Afterword
While a lot of this was a largely a crash course, I hope you’ve learned something from this! Paint making is a fascinating subject and I’ve gotten to a point where I’m confident enough to use them in many of my works. While initially going into this to save money on what I thought were overpriced paints, I have come to learn just how much goes into the process and I’ve gained a new understanding of why artist’s paints are valued the way they are. While making paint this way saves a massive sum of money for paints of the same quality (and lesser pigmentation), what you’re ultimately paying for with high end artist’s paints is consistency. A massive part of making paint in this way is trial and error, it takes a lot of iterations to really learn the unique properties of every pigment and what combination/ratio of ingredients best bring out those properties. When buying paint from the tube, all that work has been done for you and you know exactly what to expect. Making a really good paint is a lot of work and I’ve only made a paint I’d really consider perfect maybe 5 or 6 times (out of the hundreds of times I’ve gone through this process). That continued challenge is what keeps my attention since I began this journey two years ago.
As a bonus for getting this far, here’s out a couple pictures from a bunch of the other paints I’ve made!

Resources
Returning to this post after a few days, I realized that I’ve neglected to include where you can actually purchase half the ingredients used in this process. I’ve spent a long time compiling every pigment manufacturer which sells to individuals into a list. The prices may vary greatly from vendor to vendor so I would recommend cross comparing them. Over time, it’s not unlikely that some of these sites may go down as artist’s paints are a niche corner of the pigment’s market.
PIGMENTS:
https://www.kamapigment.com/?___store=en&___from_store=fr
https://shop.kremerpigments.com/us/shop
https://www.naturalpigments.com/oil-painting/pigment-powders.html
https://www.etsy.com/shop/NorthernWestStuff?ref=simple-shop-header-name&listing_id=503755494
https://rghartistoilpaint.com/pigments.php
https://arttreehouse.com/artstore/product-category/pigments-dry/
https://www.sinopia.com/Pigments
https://shop.apfitzpatrick.co.uk/pigments–dry-goods-319-c.asp
https://theartshop.com.au/collections/art-spectrum-dry-ground-pigment
https://www.ebay.com/usr/studio3914
https://uspigment.com/product-category/chemicals/
https://www.ancientearthpigments.com/product-category/pigments/
https://www.earthpigments.com/dry-powder-pigments/
https://www.jacksonsart.com/colour/pigments-powders
https://kromaacrylics.com/collections/dry-pigment?variant=733823853
https://naturalearthpaint.com/
https://www.castlefineartpigments.co.uk/
https://www.ajludlow.co.uk/store/Pure-Pigment-Powders-c121898751?offset=9
FURTHER READING:
https://justpaint.org/just-make-paint/
https://web.archive.org/web/20120116183832/http://www.paintmaking.com/
http://www.noteaccess.com/MATERIALS/AESManufacture.htm
https://feltmagnet.com/painting/How-to-Mull-Acrylic-Paints-Efficiently-and-with-Little-Mess
https://www.getty.edu/conservation/publications_resources/books/modern_paints_uncovered.html
https://web.archive.org/web/20160324040111/http://paintmaking.com/acrylics.htm
https://www.tri-art.ca/mulling-it-over-contemporary-pigment-grinding/
https://www.tri-art.ca/beyond-colour-the-rheology-and-viscosity-of-acrylic-paints/
https://kromaacrylics.com/pages/the-paint-making-process